Online Appointment Booking
for free with Vello
Allow customers to book appointment online
This guide is aimed at businesses that are based on appointments with their customers such as hairdressers, massage experts etc.
Having an online booking system in place for your business both helps the customers to easily schedule a possible time with you. But it also helps you to save time since you do not have to find a suitable slot with your customers on the phone.
Vello is an online booking platform based in Finland that offers a free version of their service. For many small businesses this free version might already be sufficient.
Here we explain how you set up your account and enable your booking system with Vello.
Hint: To enlarge the images, just click on them.
Step 1
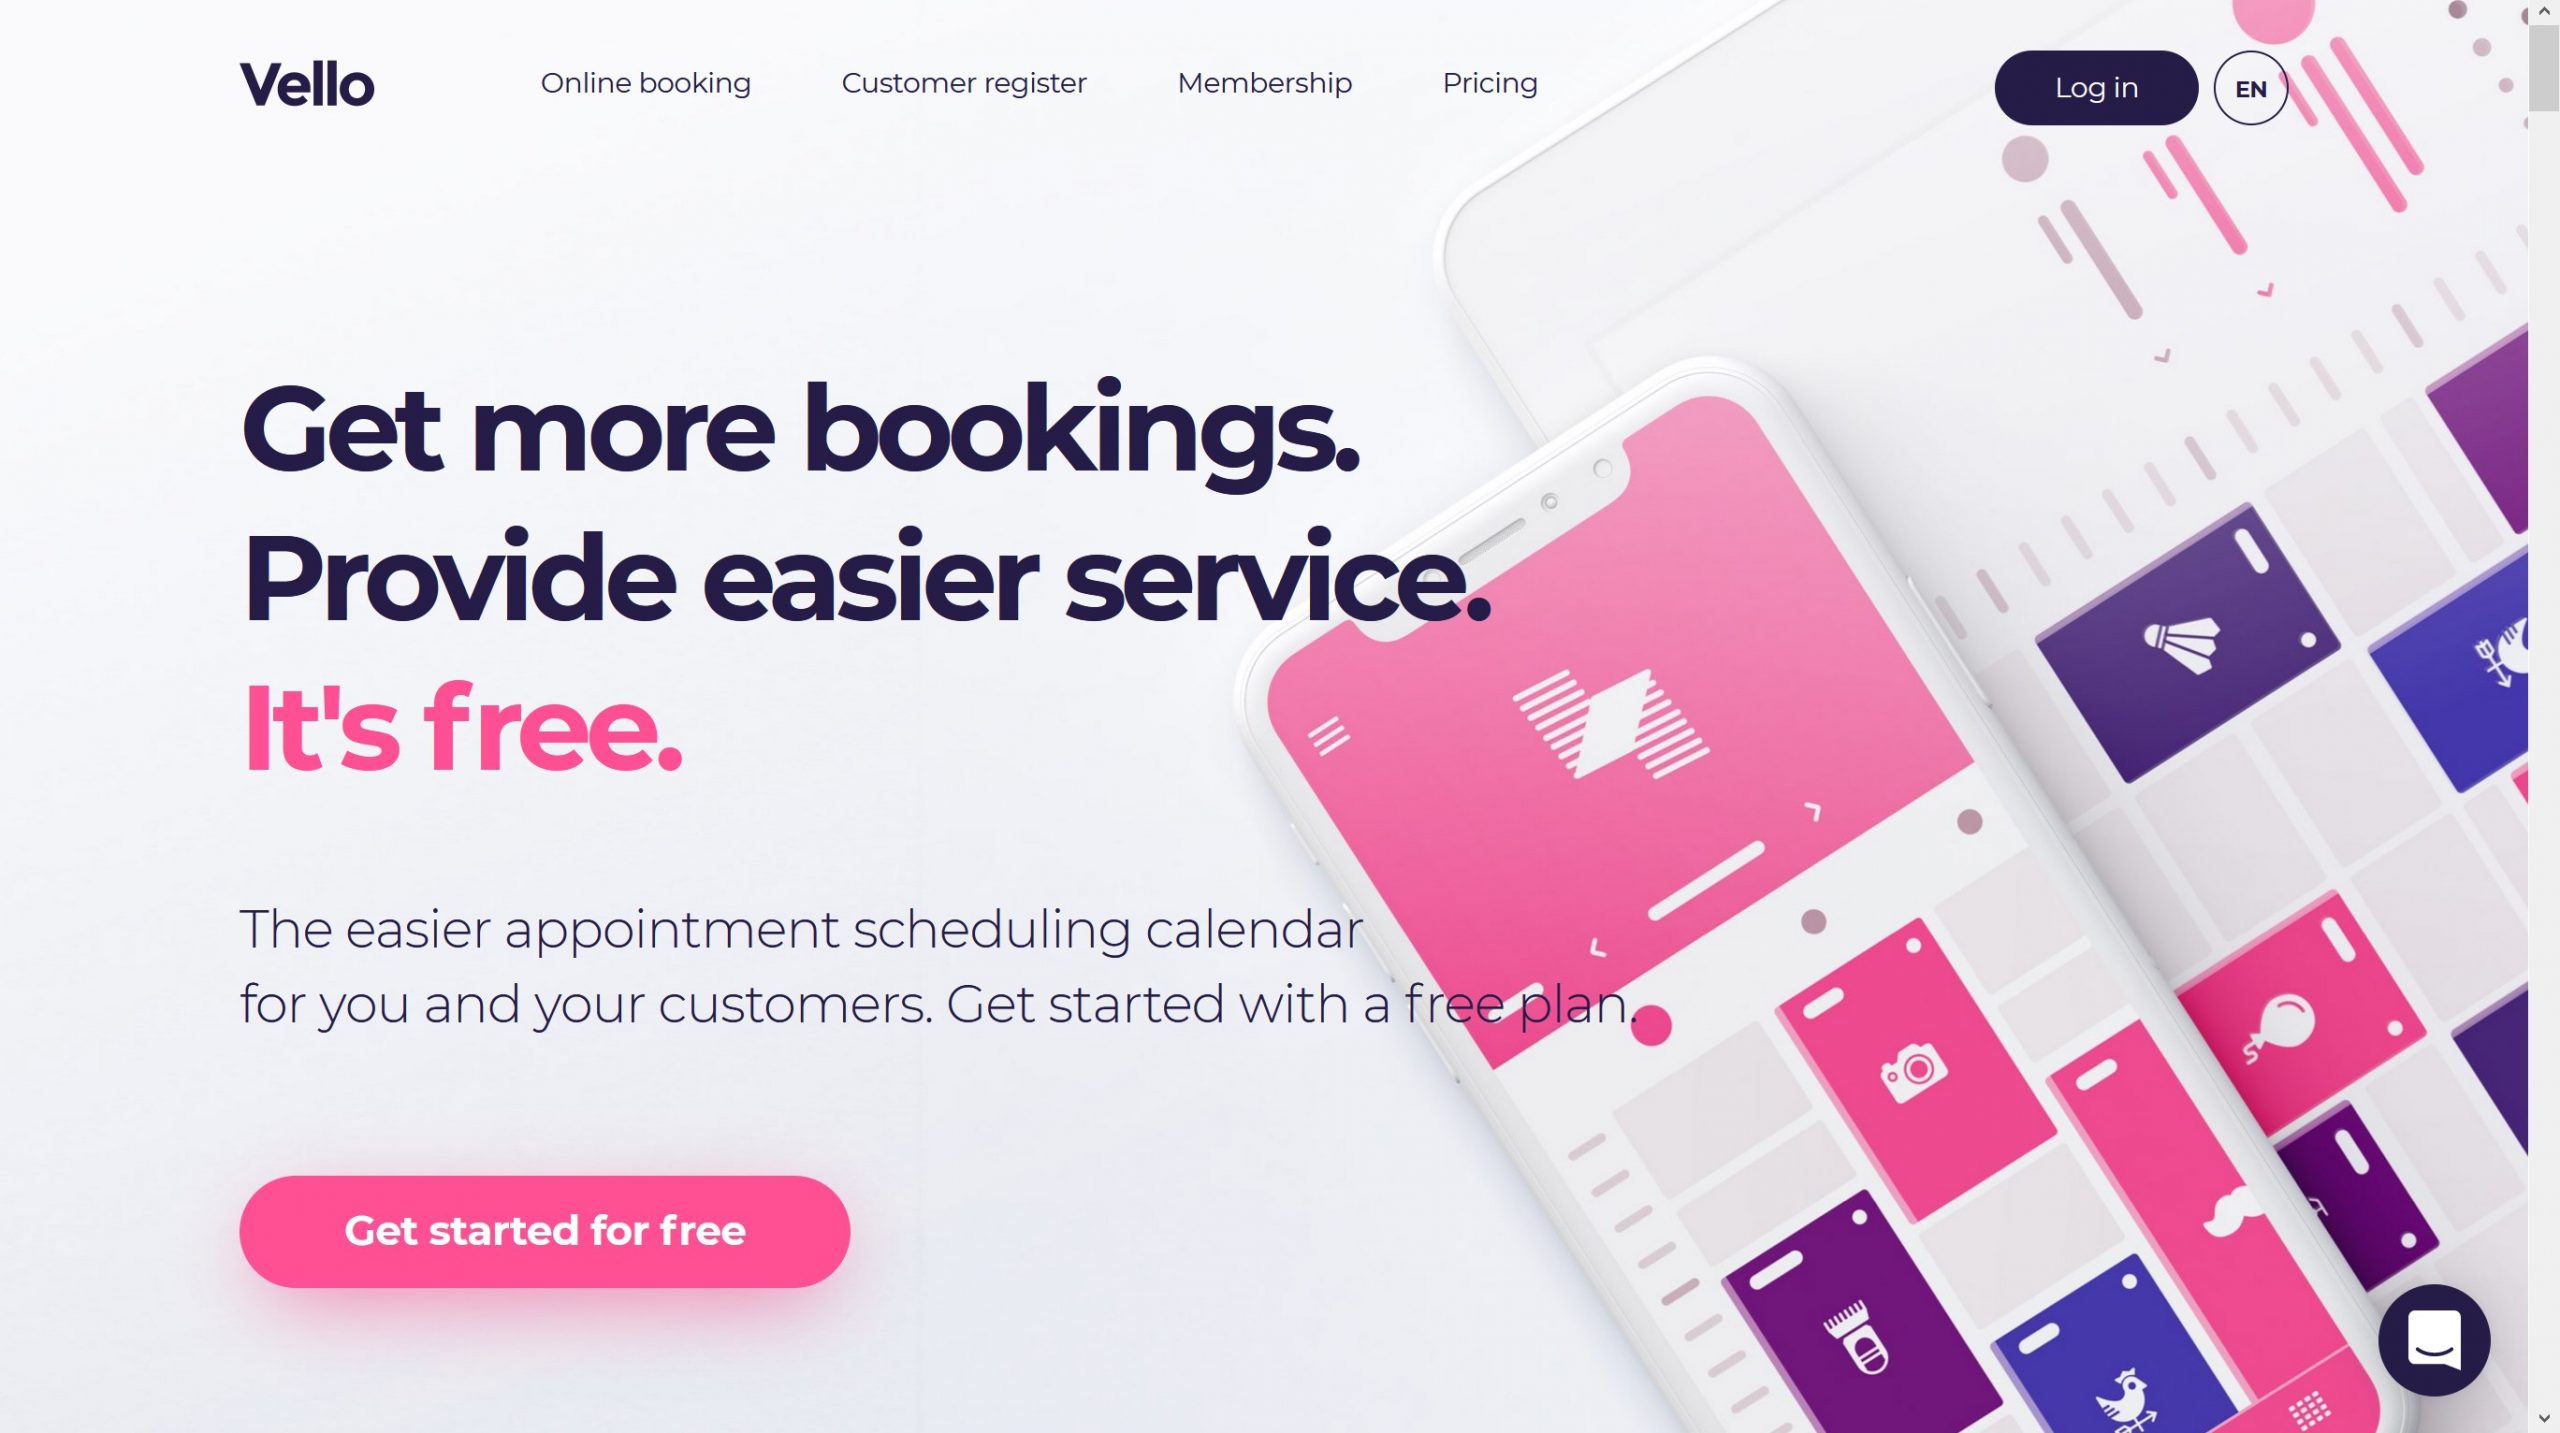
The first thing you need to do is navigate to vello.fi/en.
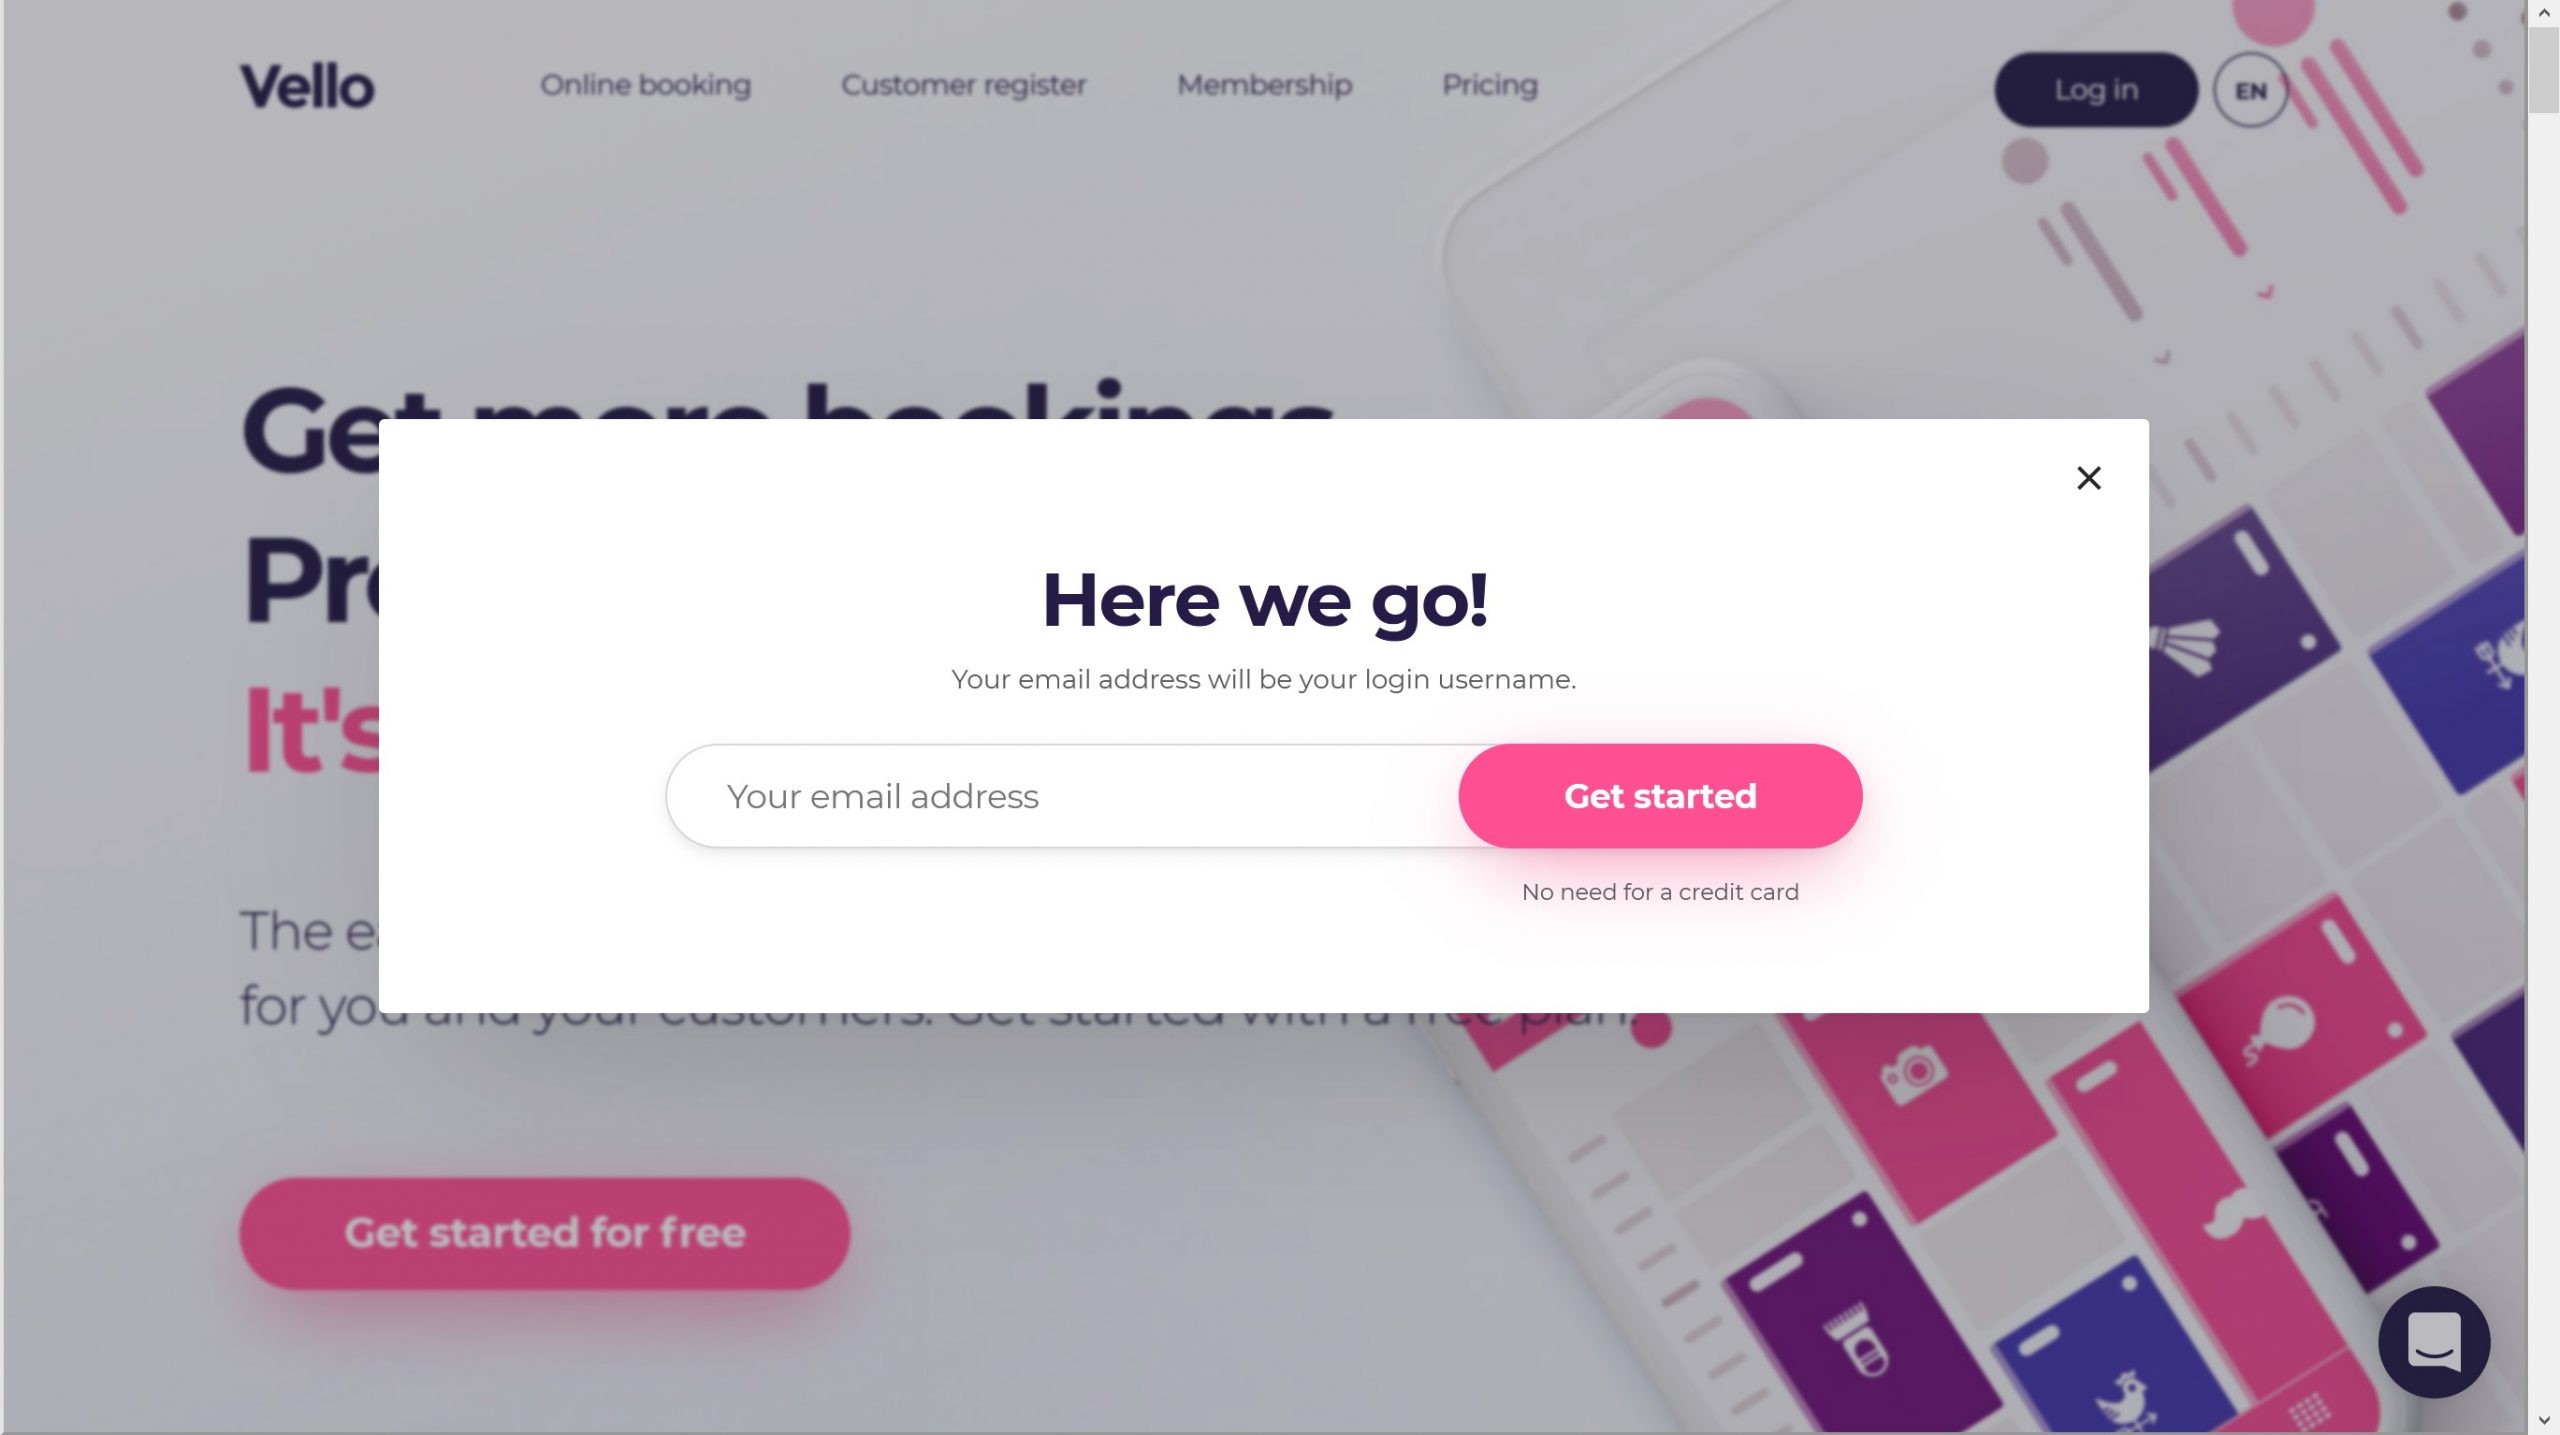
Then on the front page click “Get started for free“.
Step 3
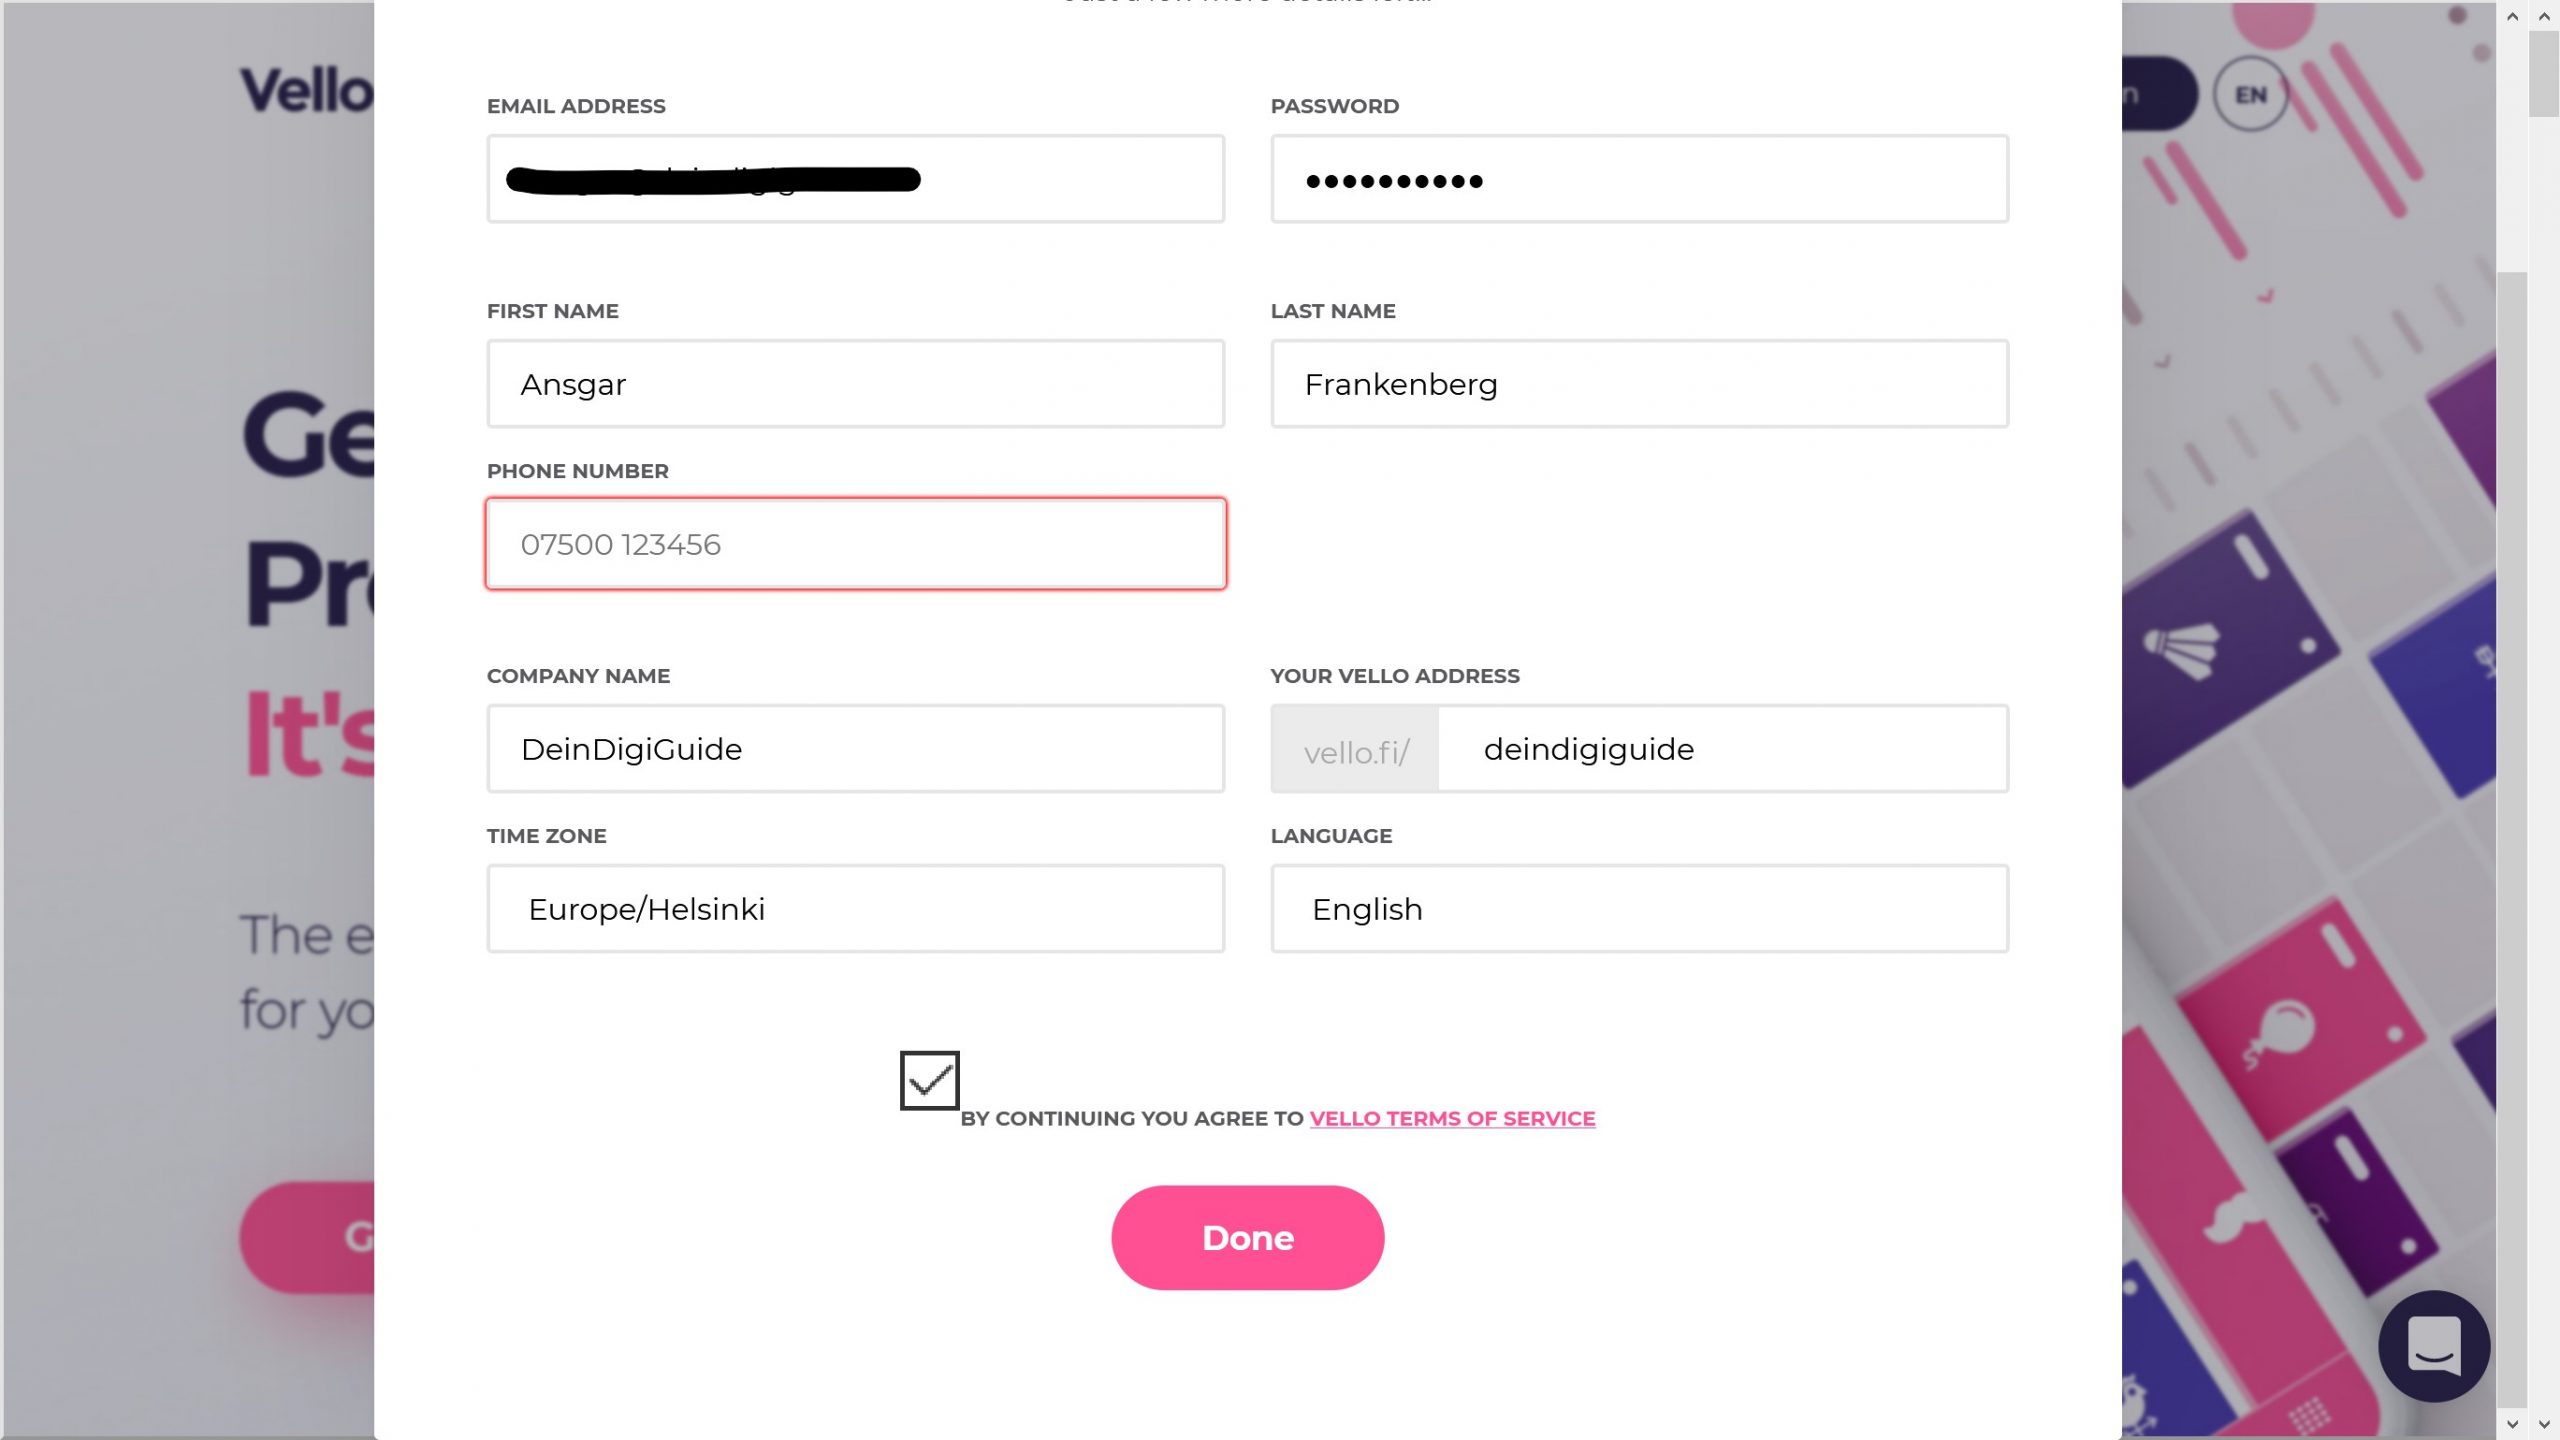
You will now be asked some details about yourself and your business.
Choose a safe password. Type in your first and last name and your phone number.
Then type in your business name. Vello will automatically generate an address for your booking page based on your business name. That is the address you can later share with your customers.
Now still choose your time zone. Make sure that you set this to the same time zone your customers are in. Otherwise, they will book wrong times.
Then still set up the main language for your booking page. You can add other languages later if you like.
Now click “Done“.
Step 4
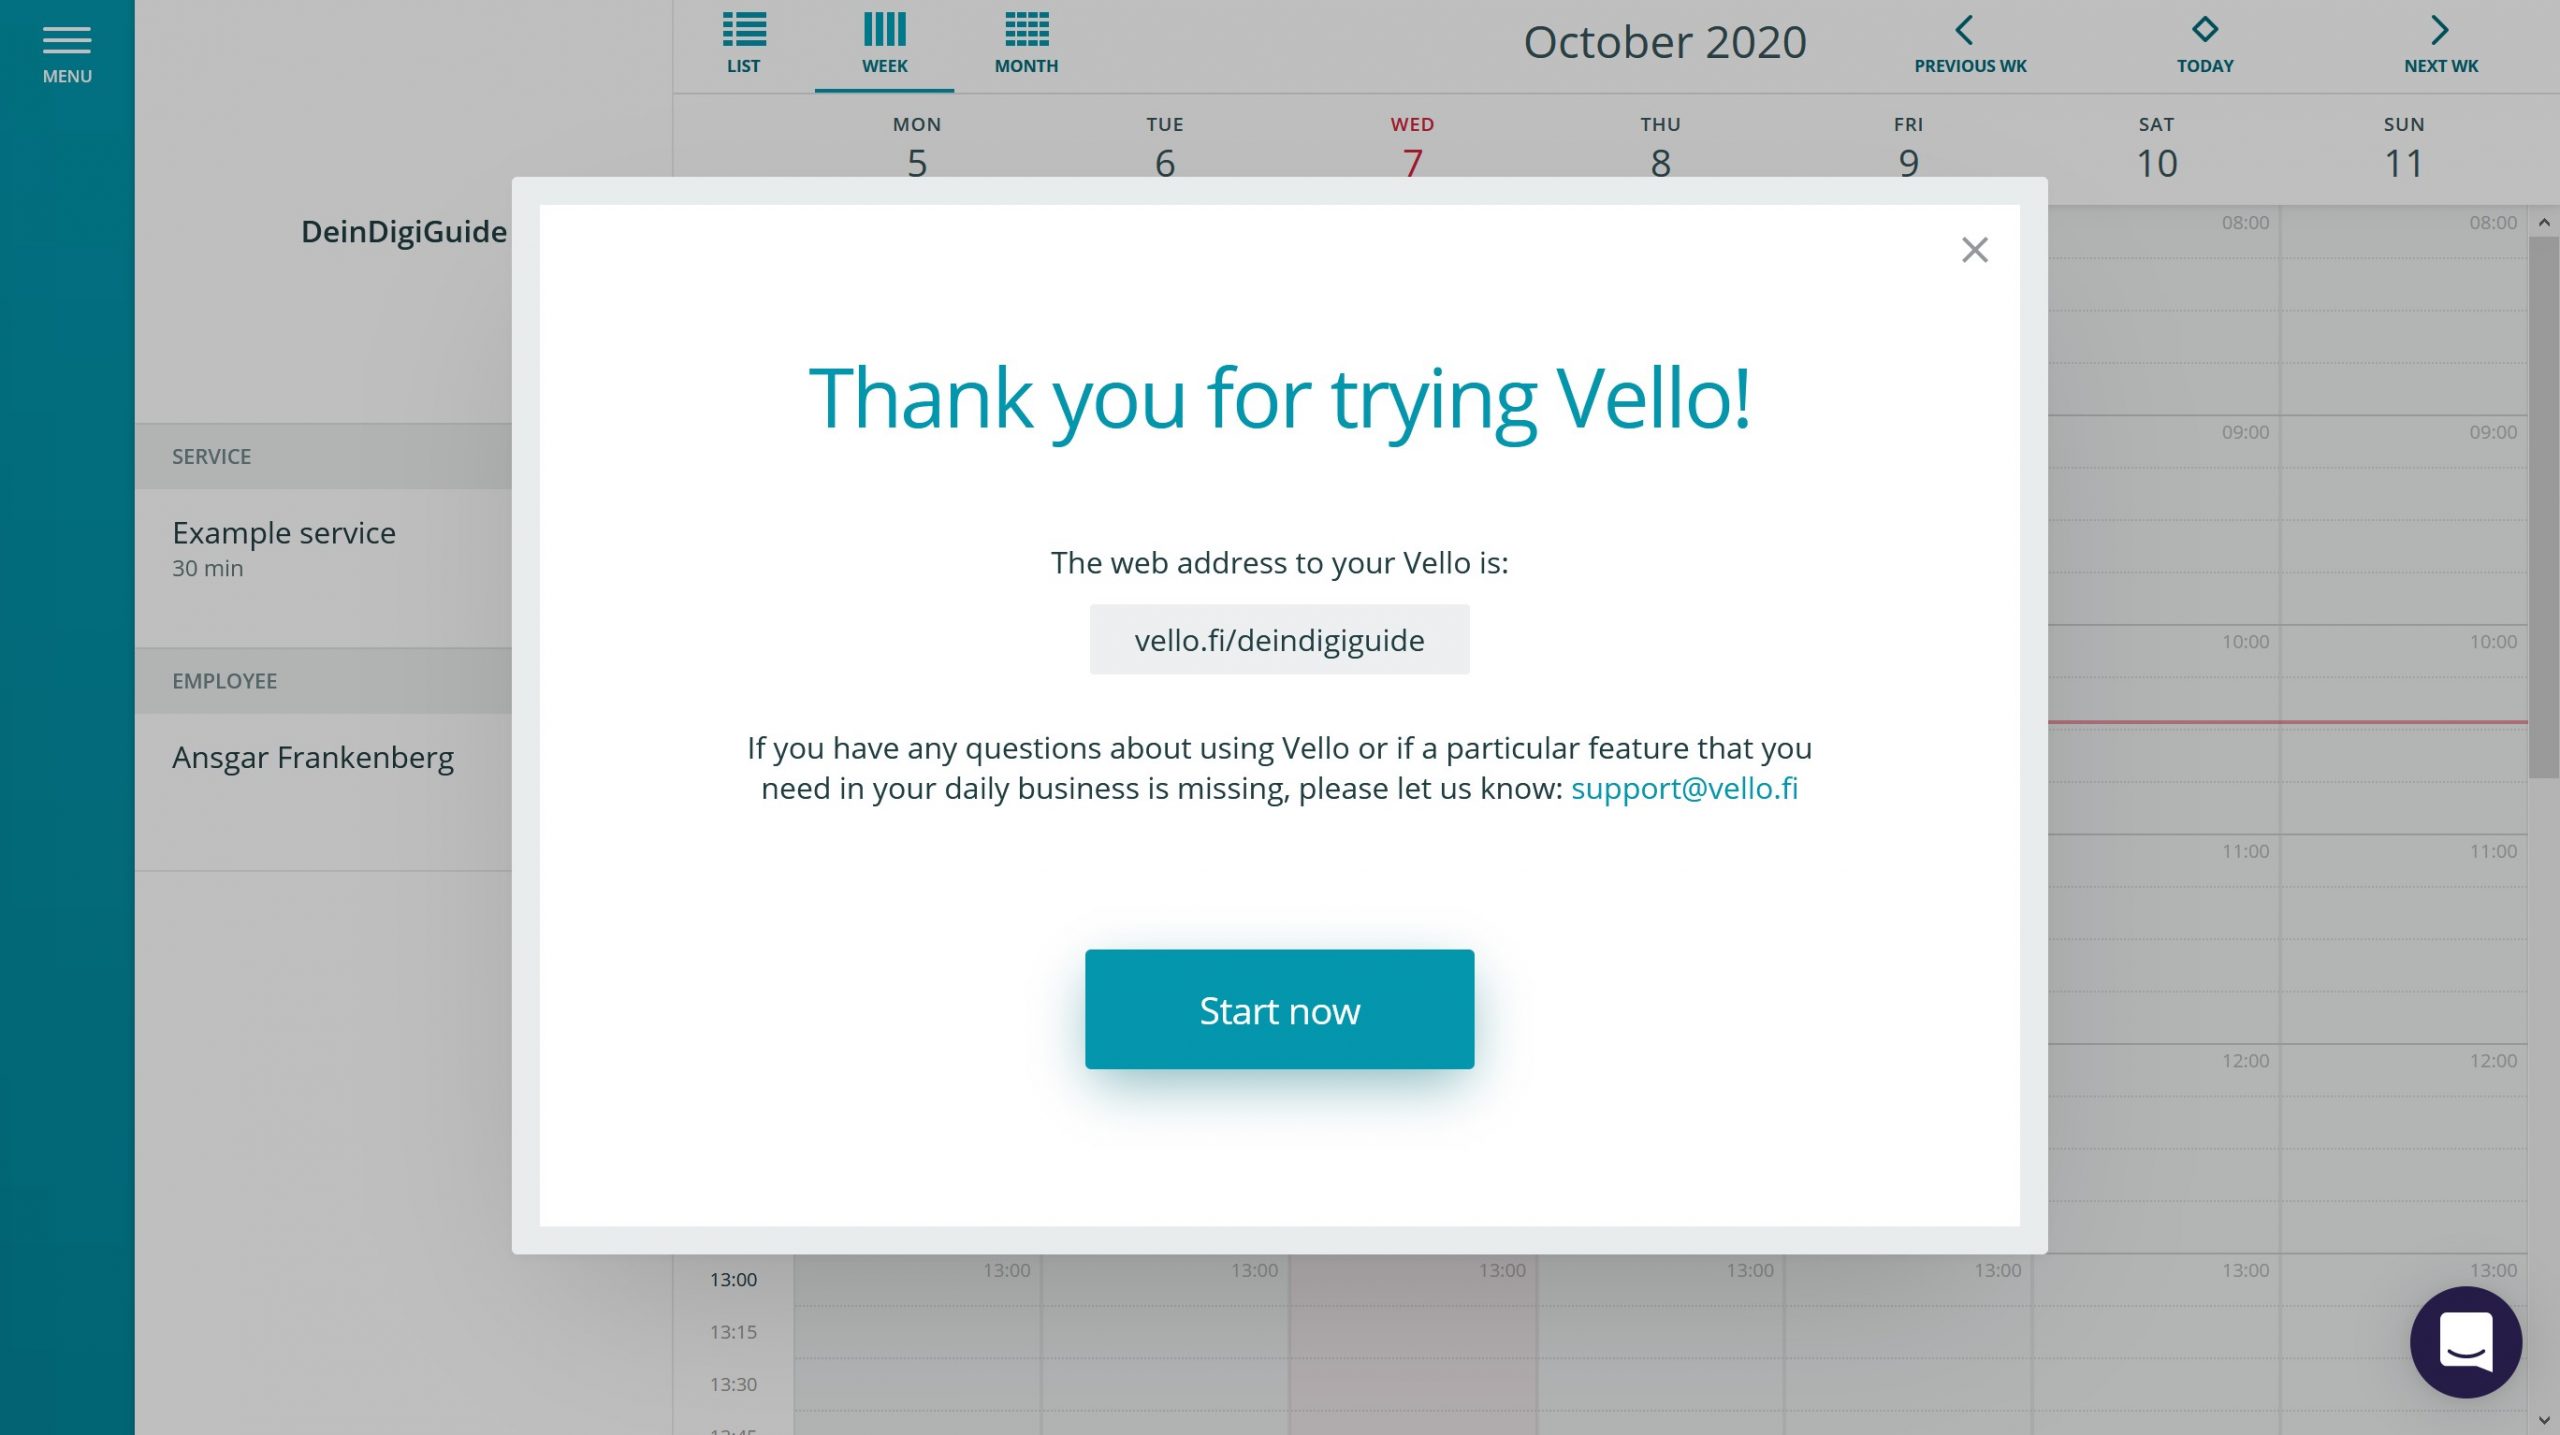
Your account has now been created and you can start setting up your booking system.
In the popup you will still be presented with your new booking address. You can copy it already but you can also find it later.
Click “Start now“.
Step 5
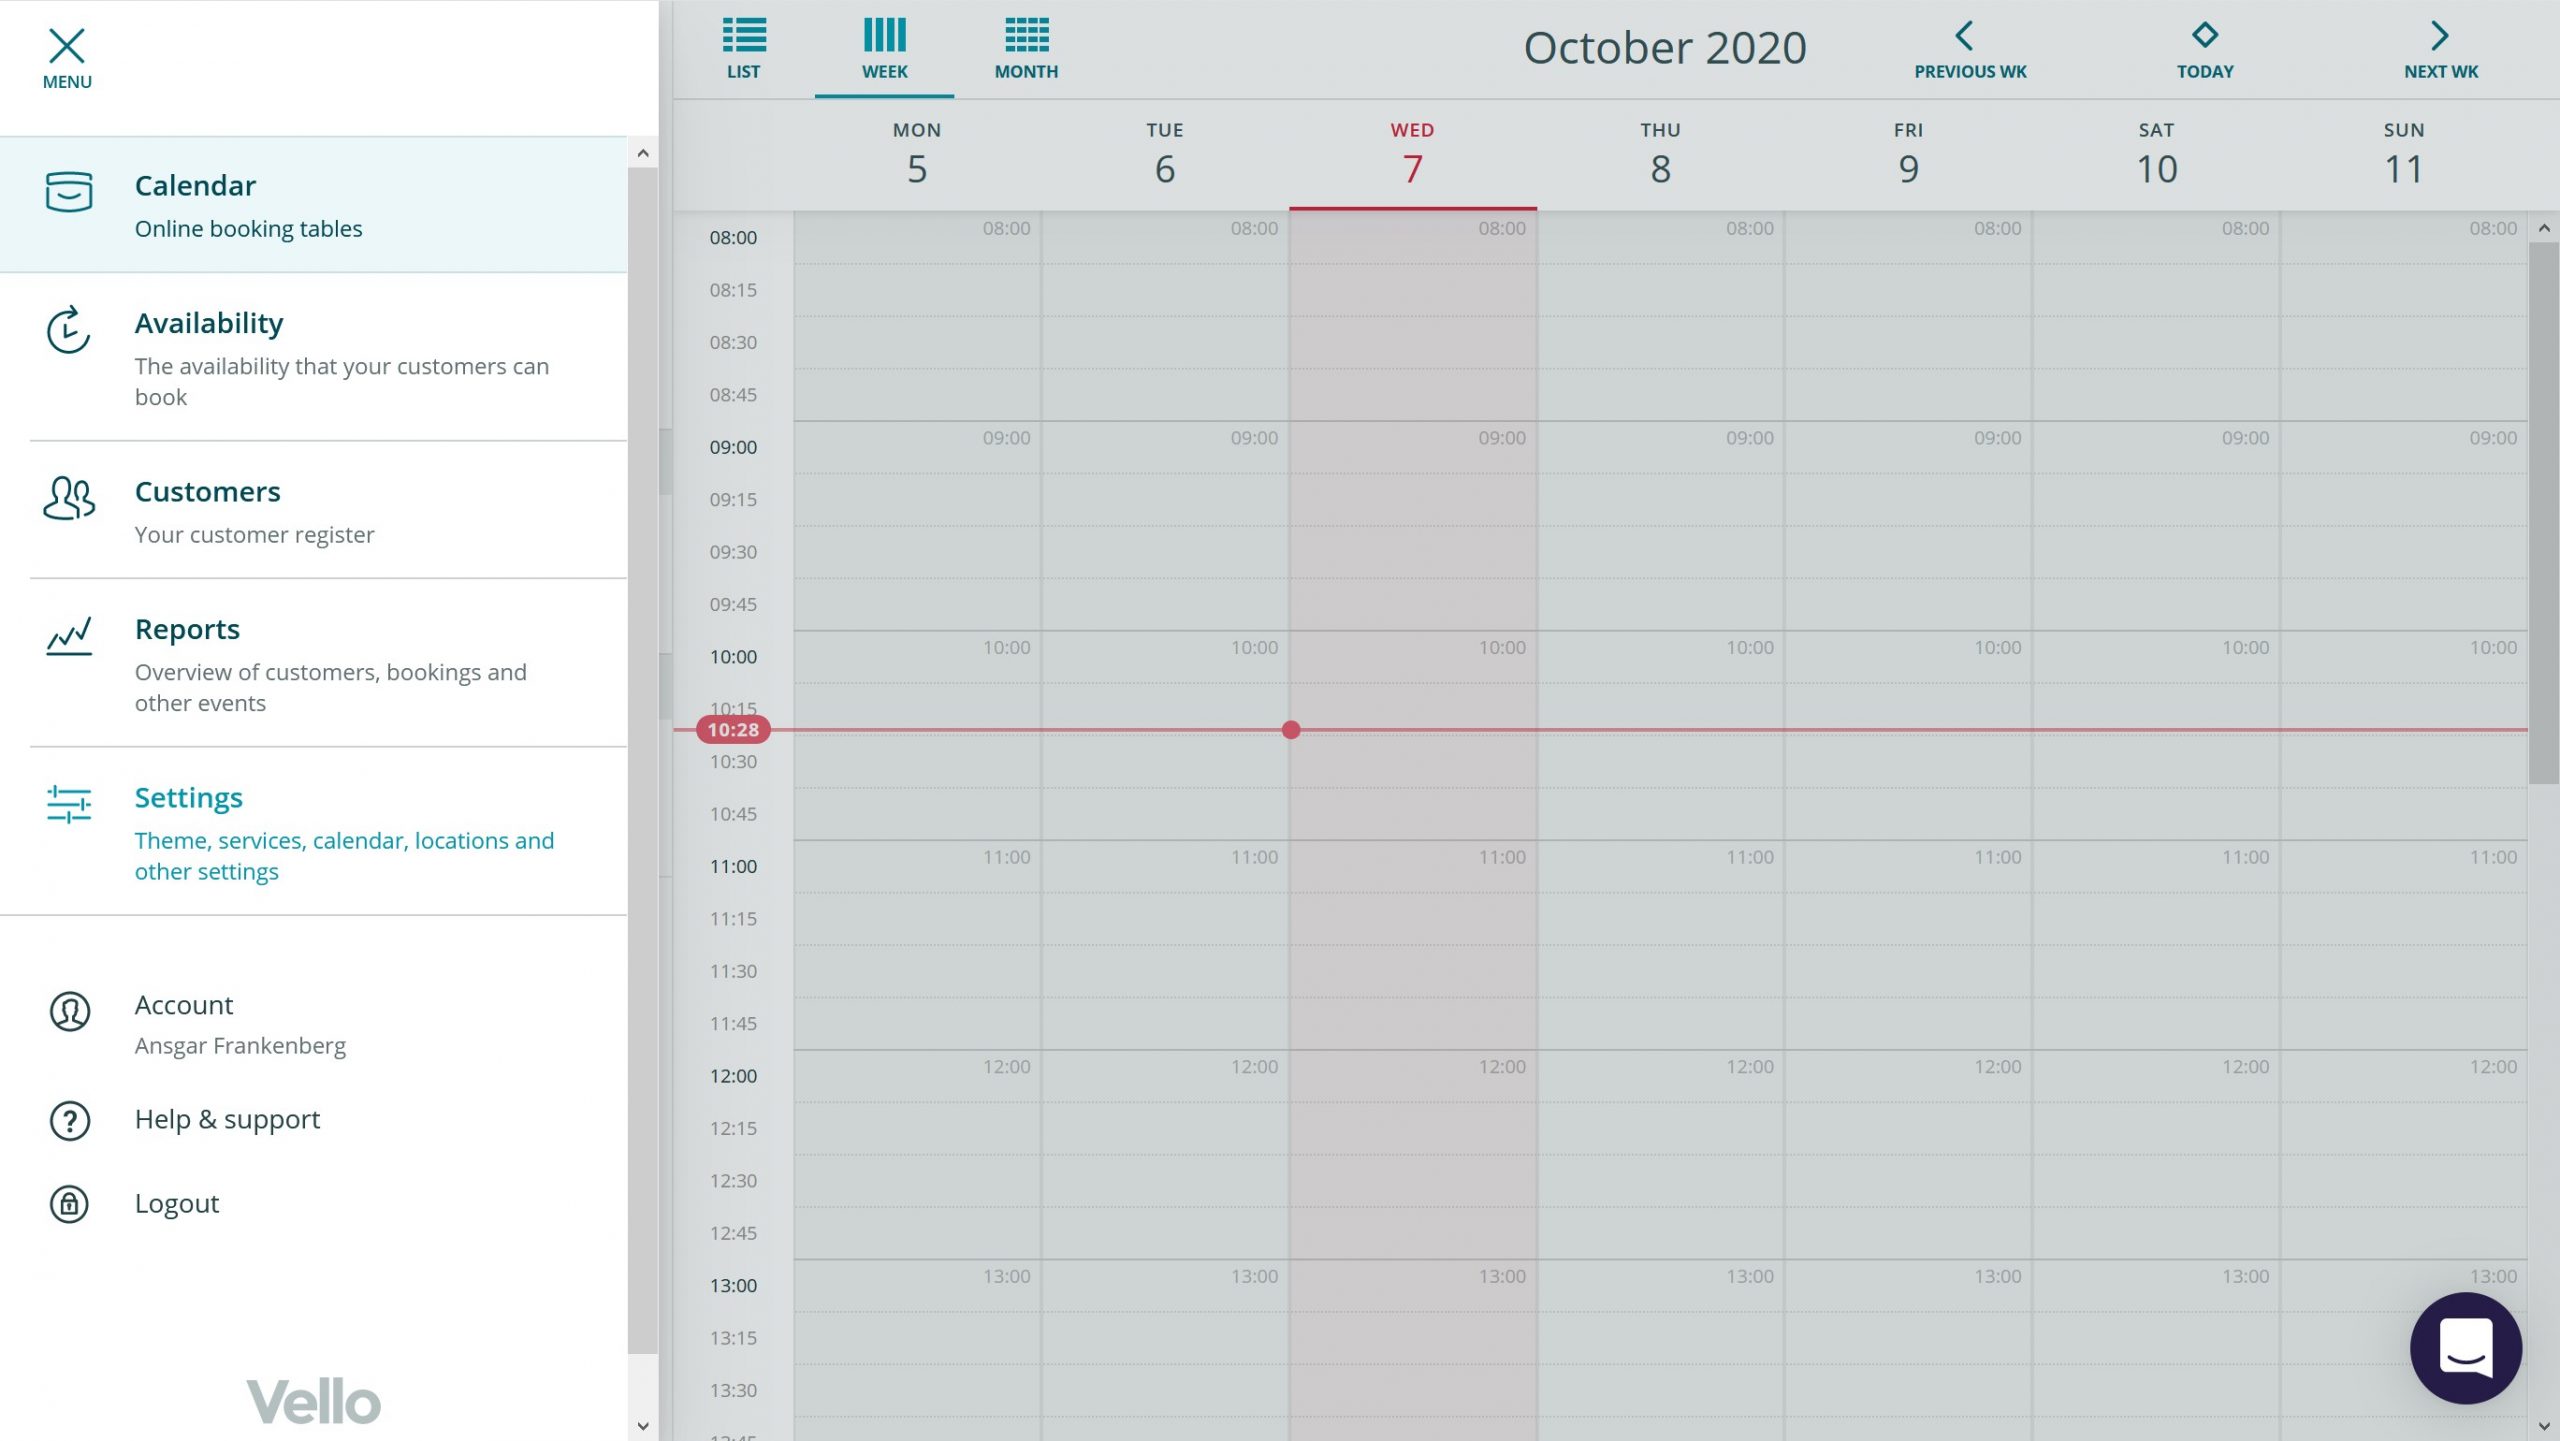
Now you are in the main view of Vello. On the right side you see your new booking calendar.
If you click on “Menu” in the top left corner, you will see all your options and settings.
Step 6
The first thing you should do now is set up your first service.
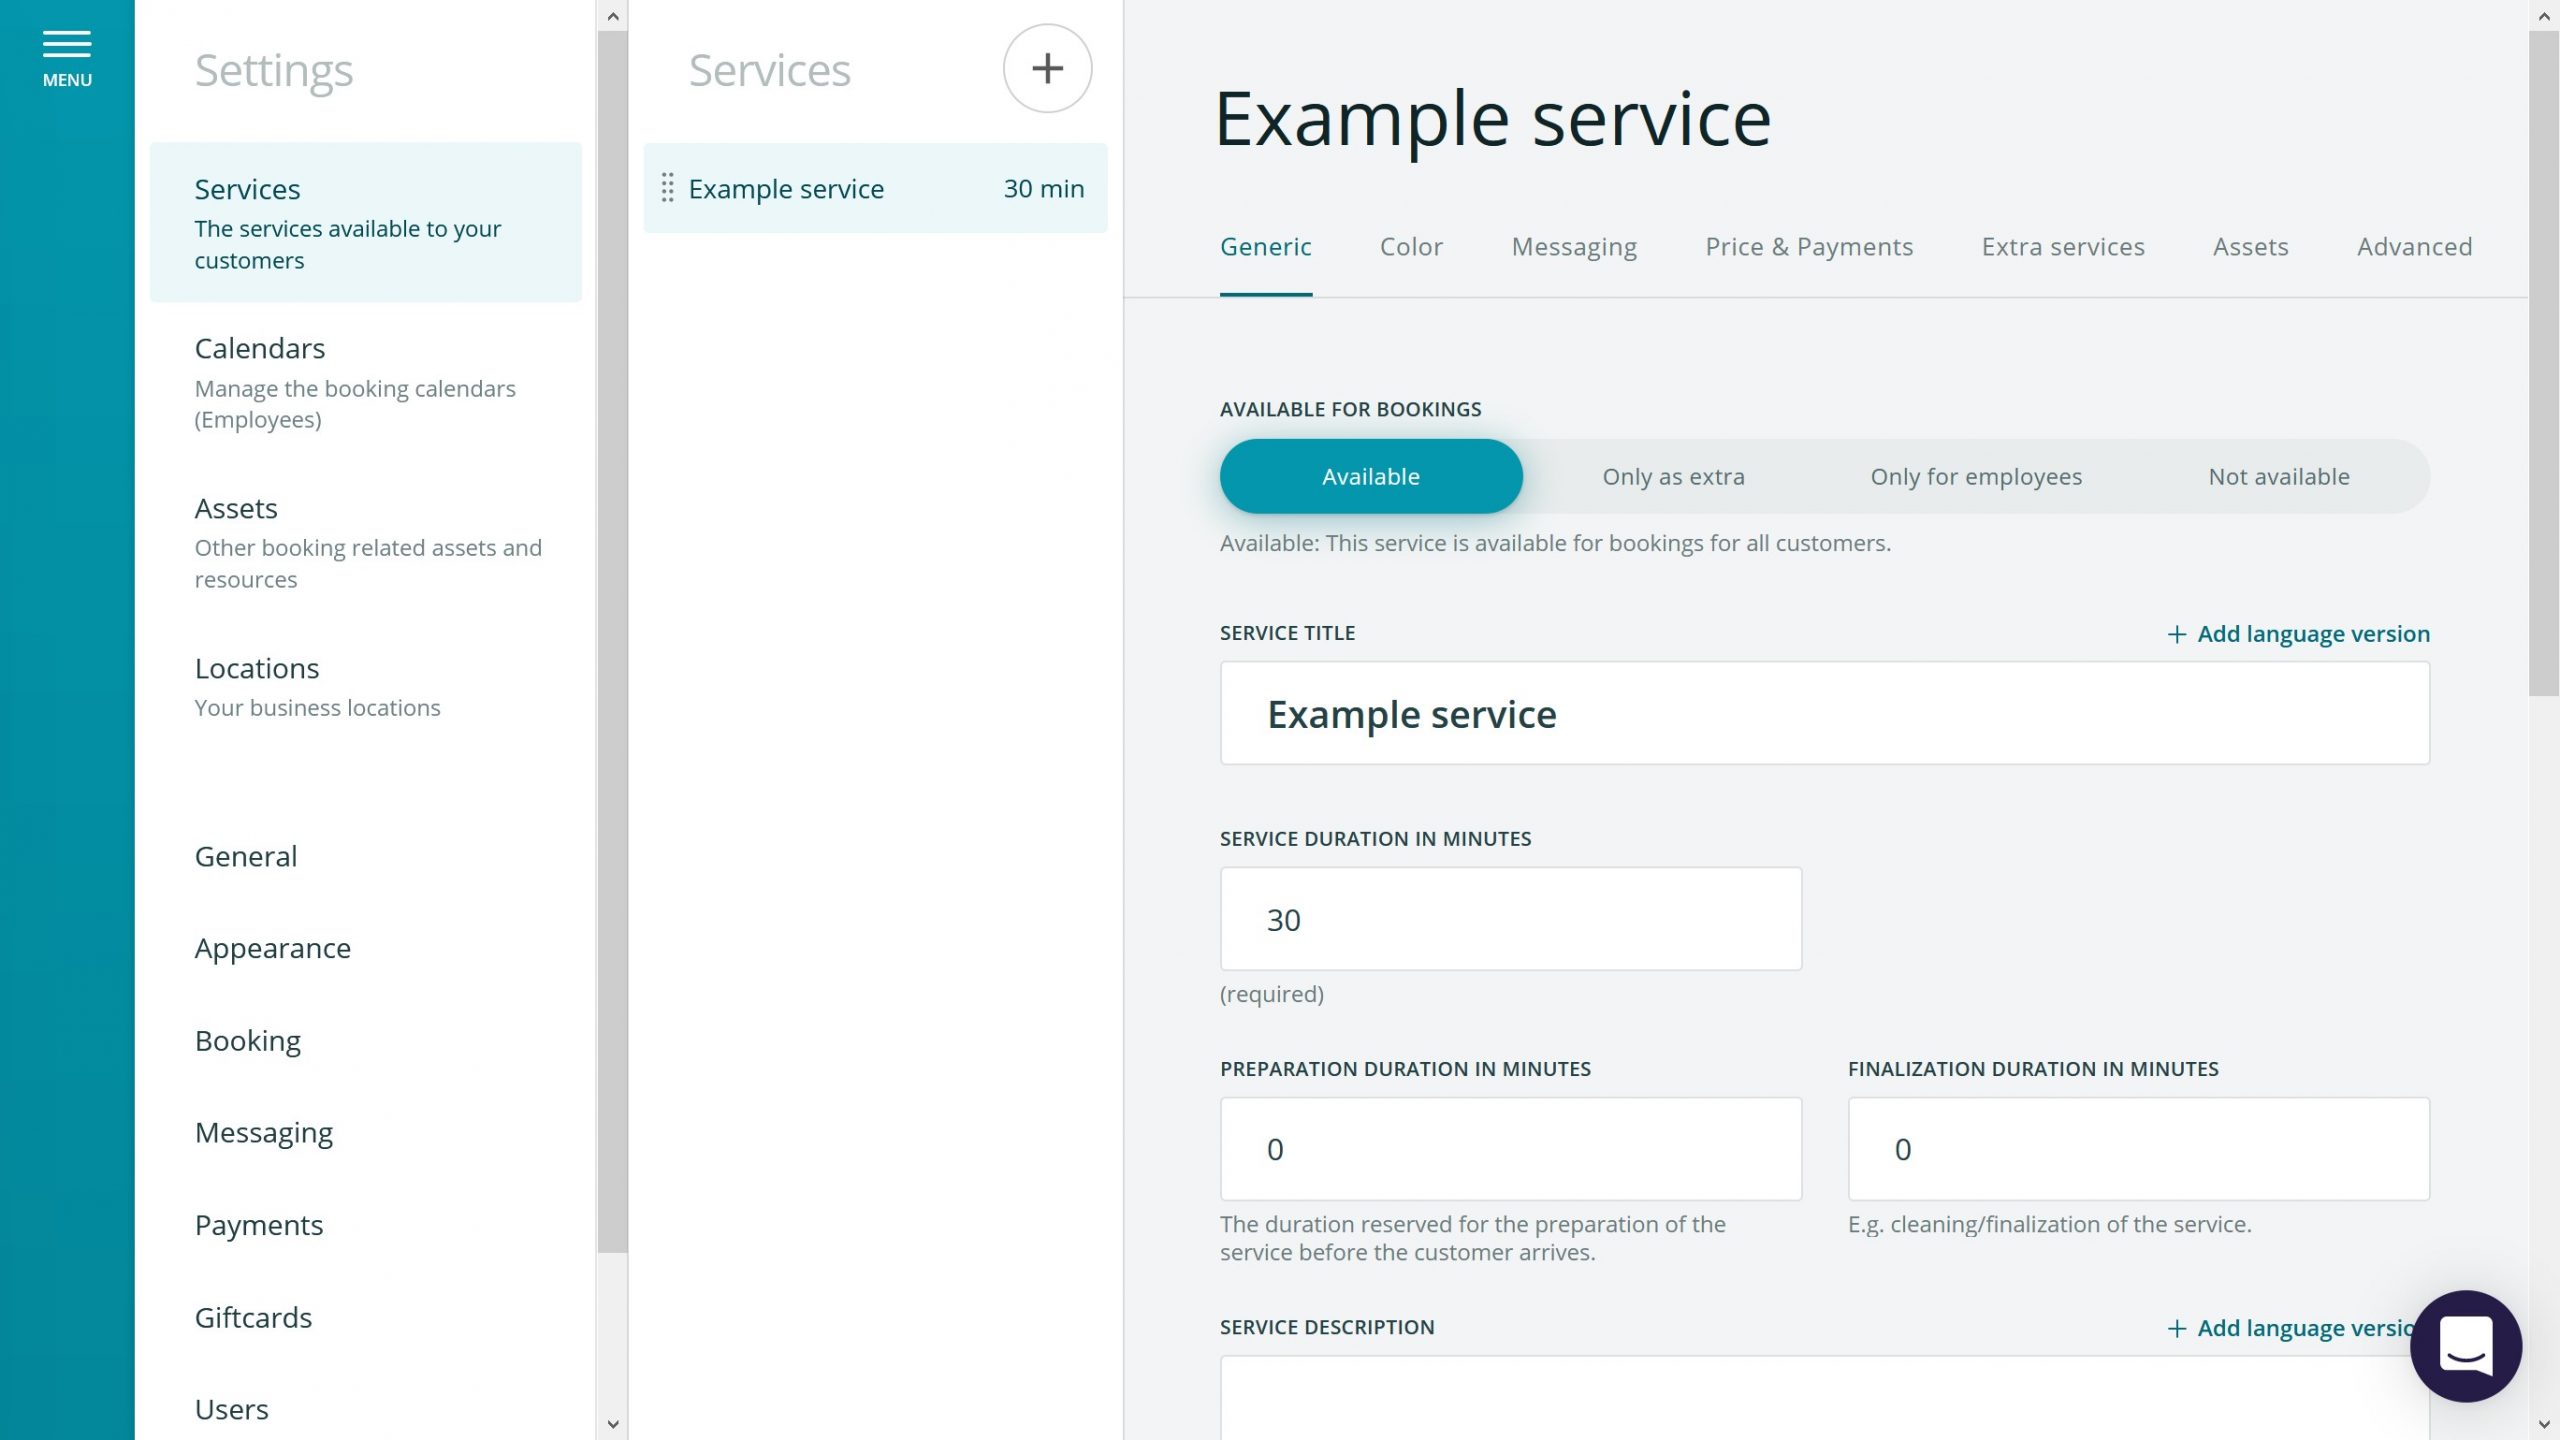
In the menu go to “Services” and then select the “Example service” that Vello automatically created for you.
Now you see the service options. Rename the Service title to suit a service in your business. It could be e.g. a 30 min massage, a 15 min haircut or a 1 hour boat ride.
Then set up how long the service lasts under “Service Duration in minutes“. You can also set up a preparation and finalization time in case you need to set something up or clean after a customer.
Vello saves all changes automatically. There is no Save button to click.
You can now create a new service if you like by clicking the + icon next to the word Services. The free version of Vello supports up to five services.
Step 7
Now that your service is set up, you have to define at which times you are available to be booked.
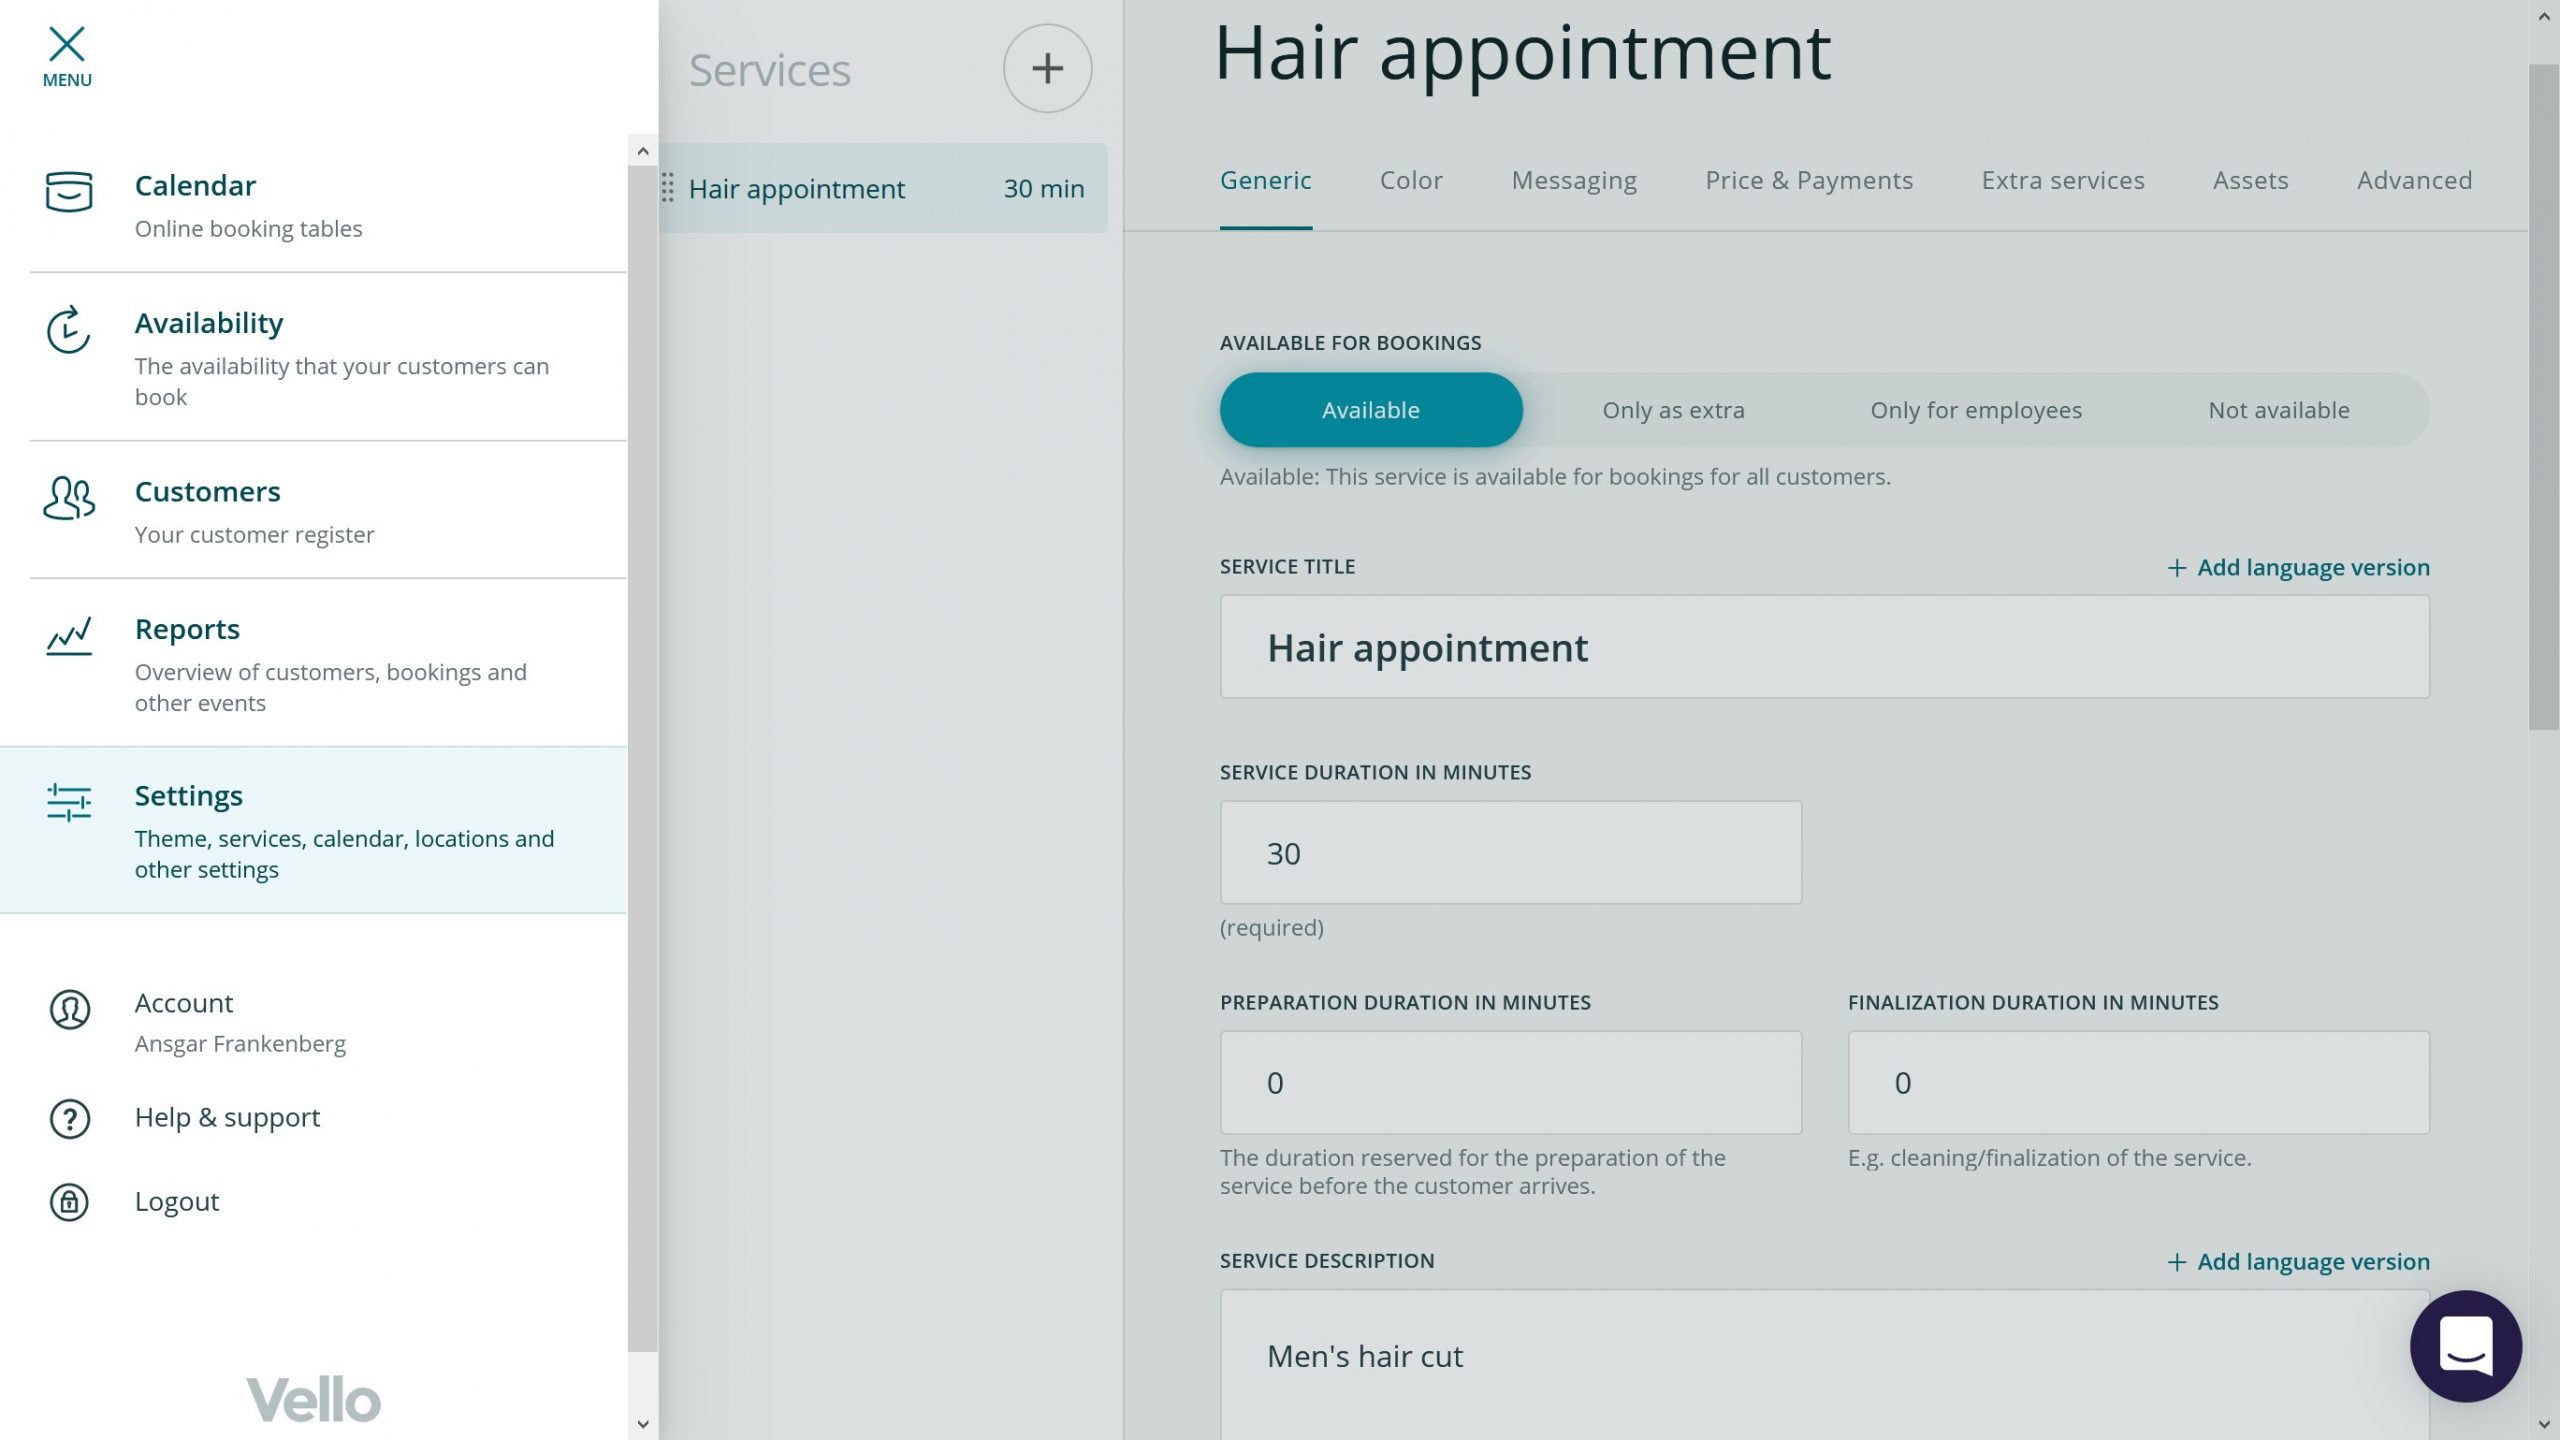
Therefore first click the menu icon again. Now click “Availability“.
Step 8
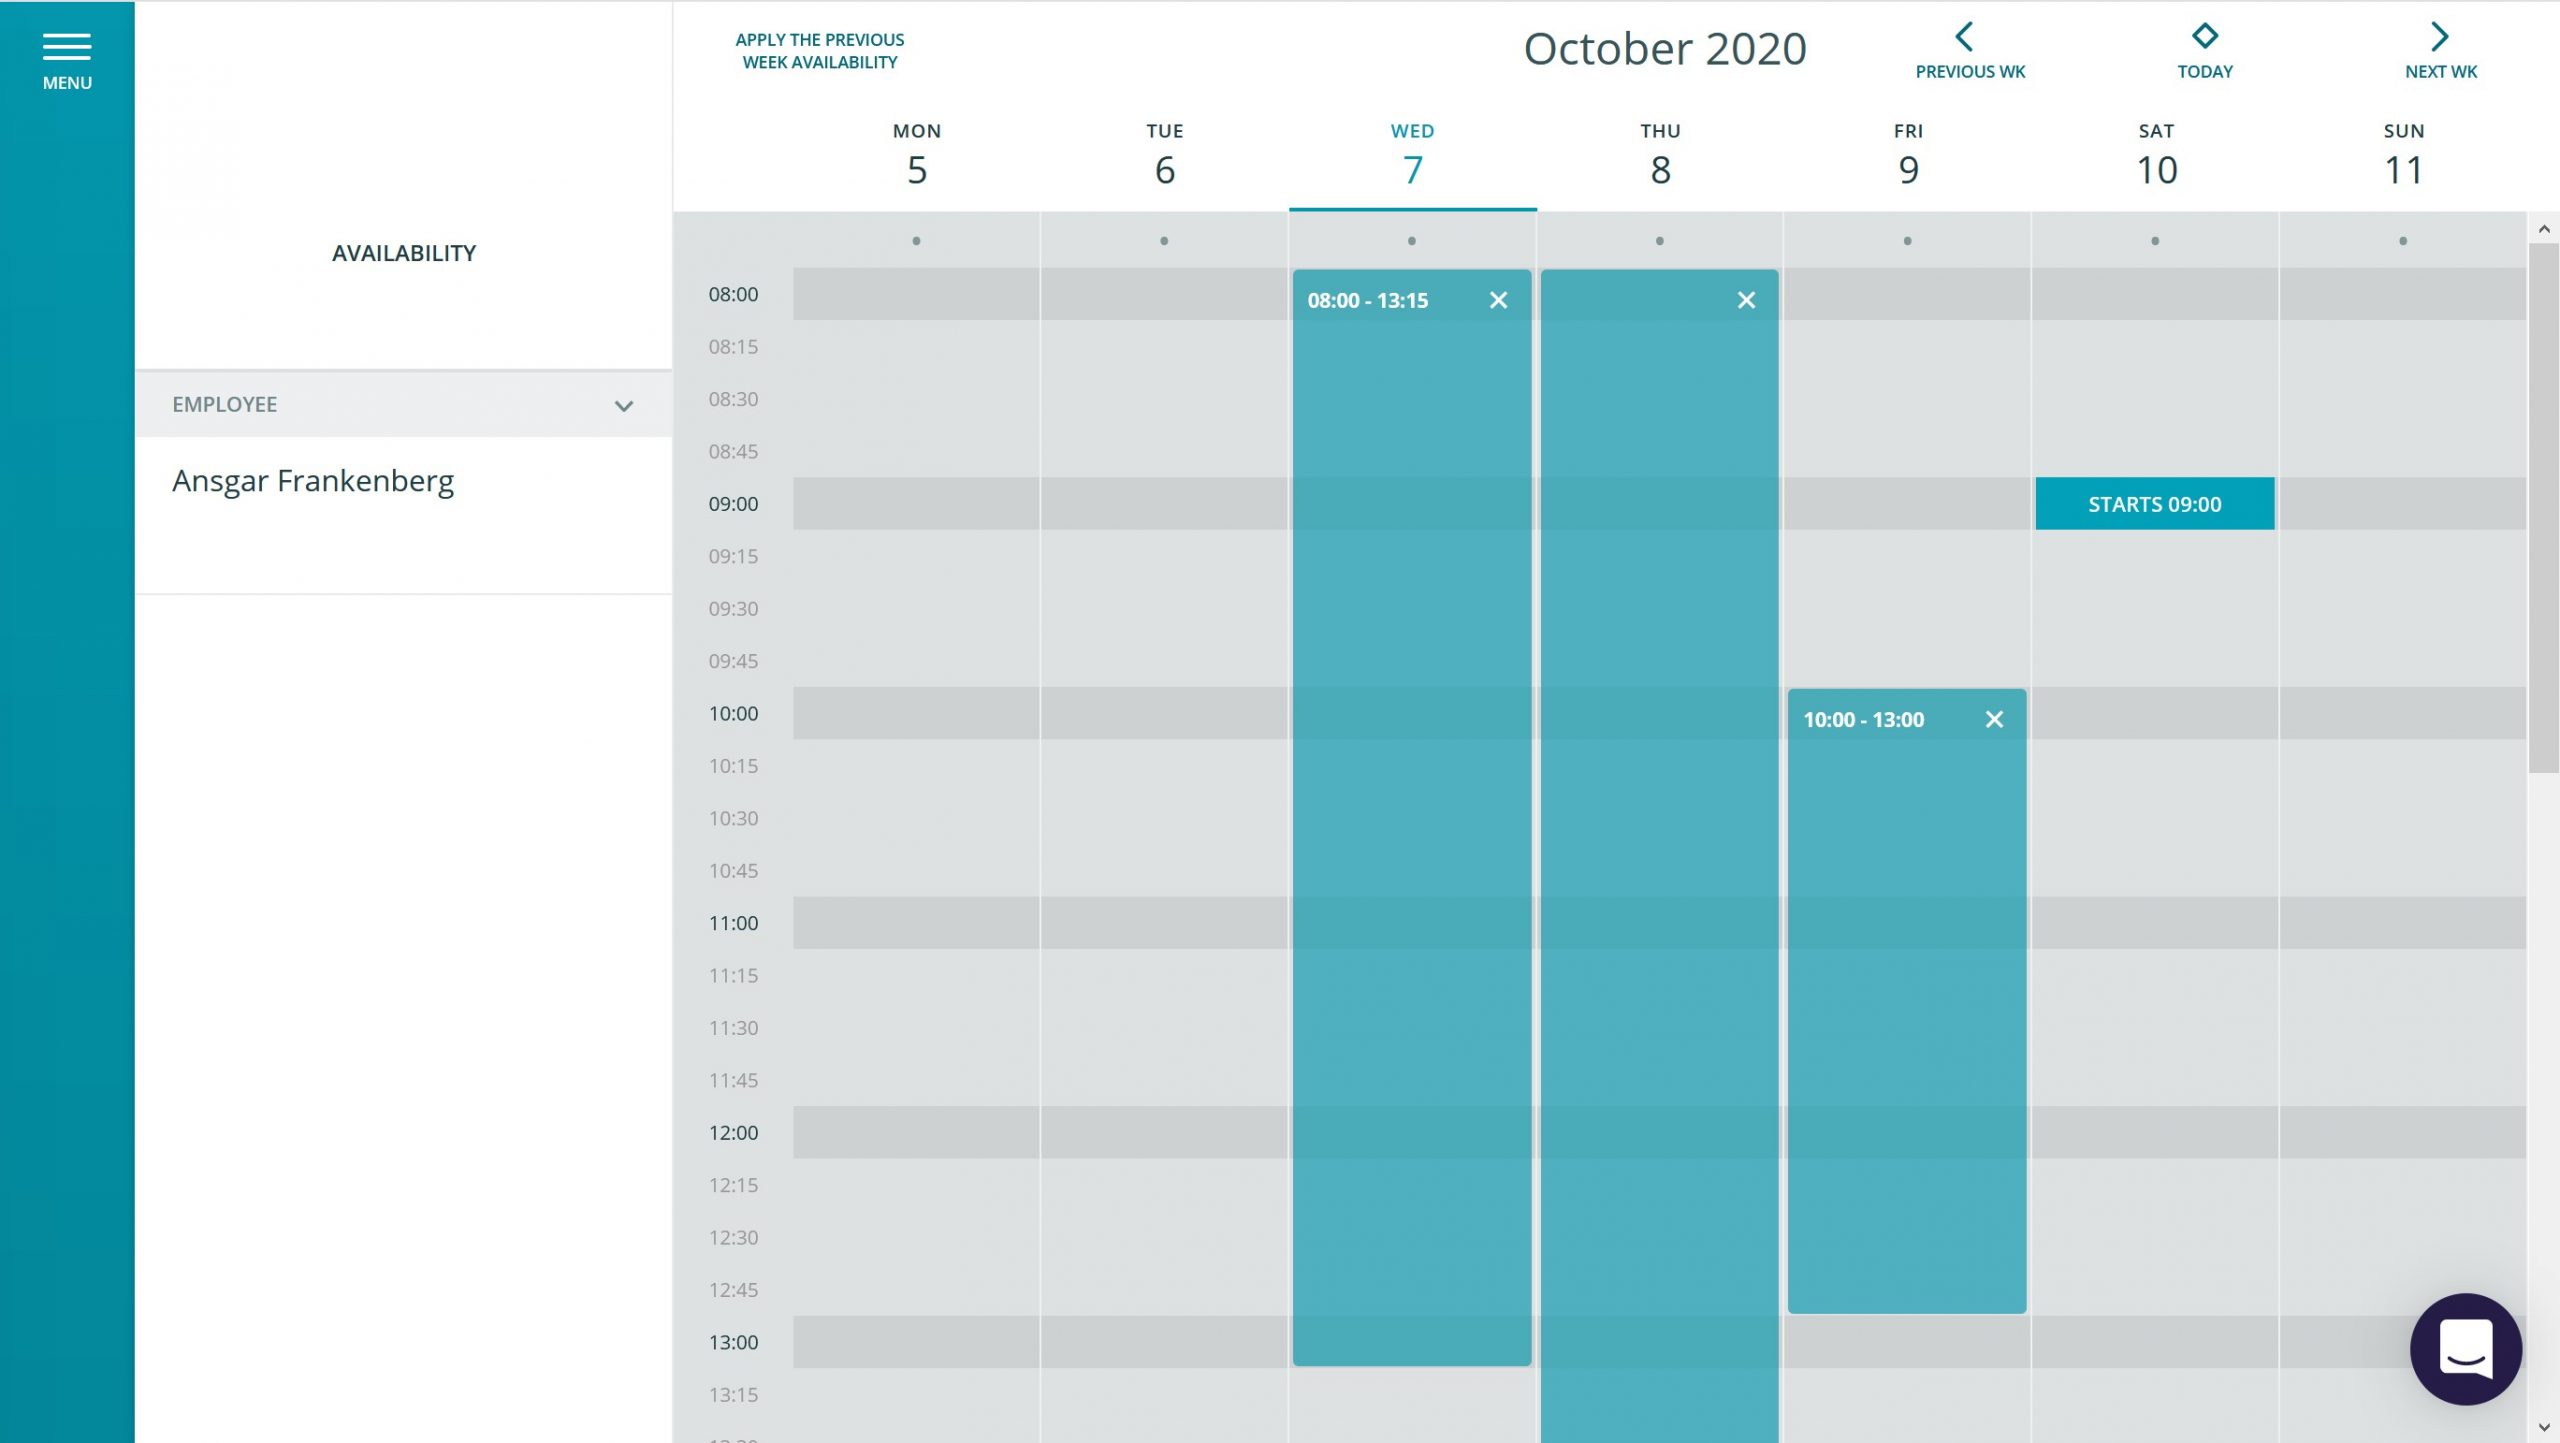
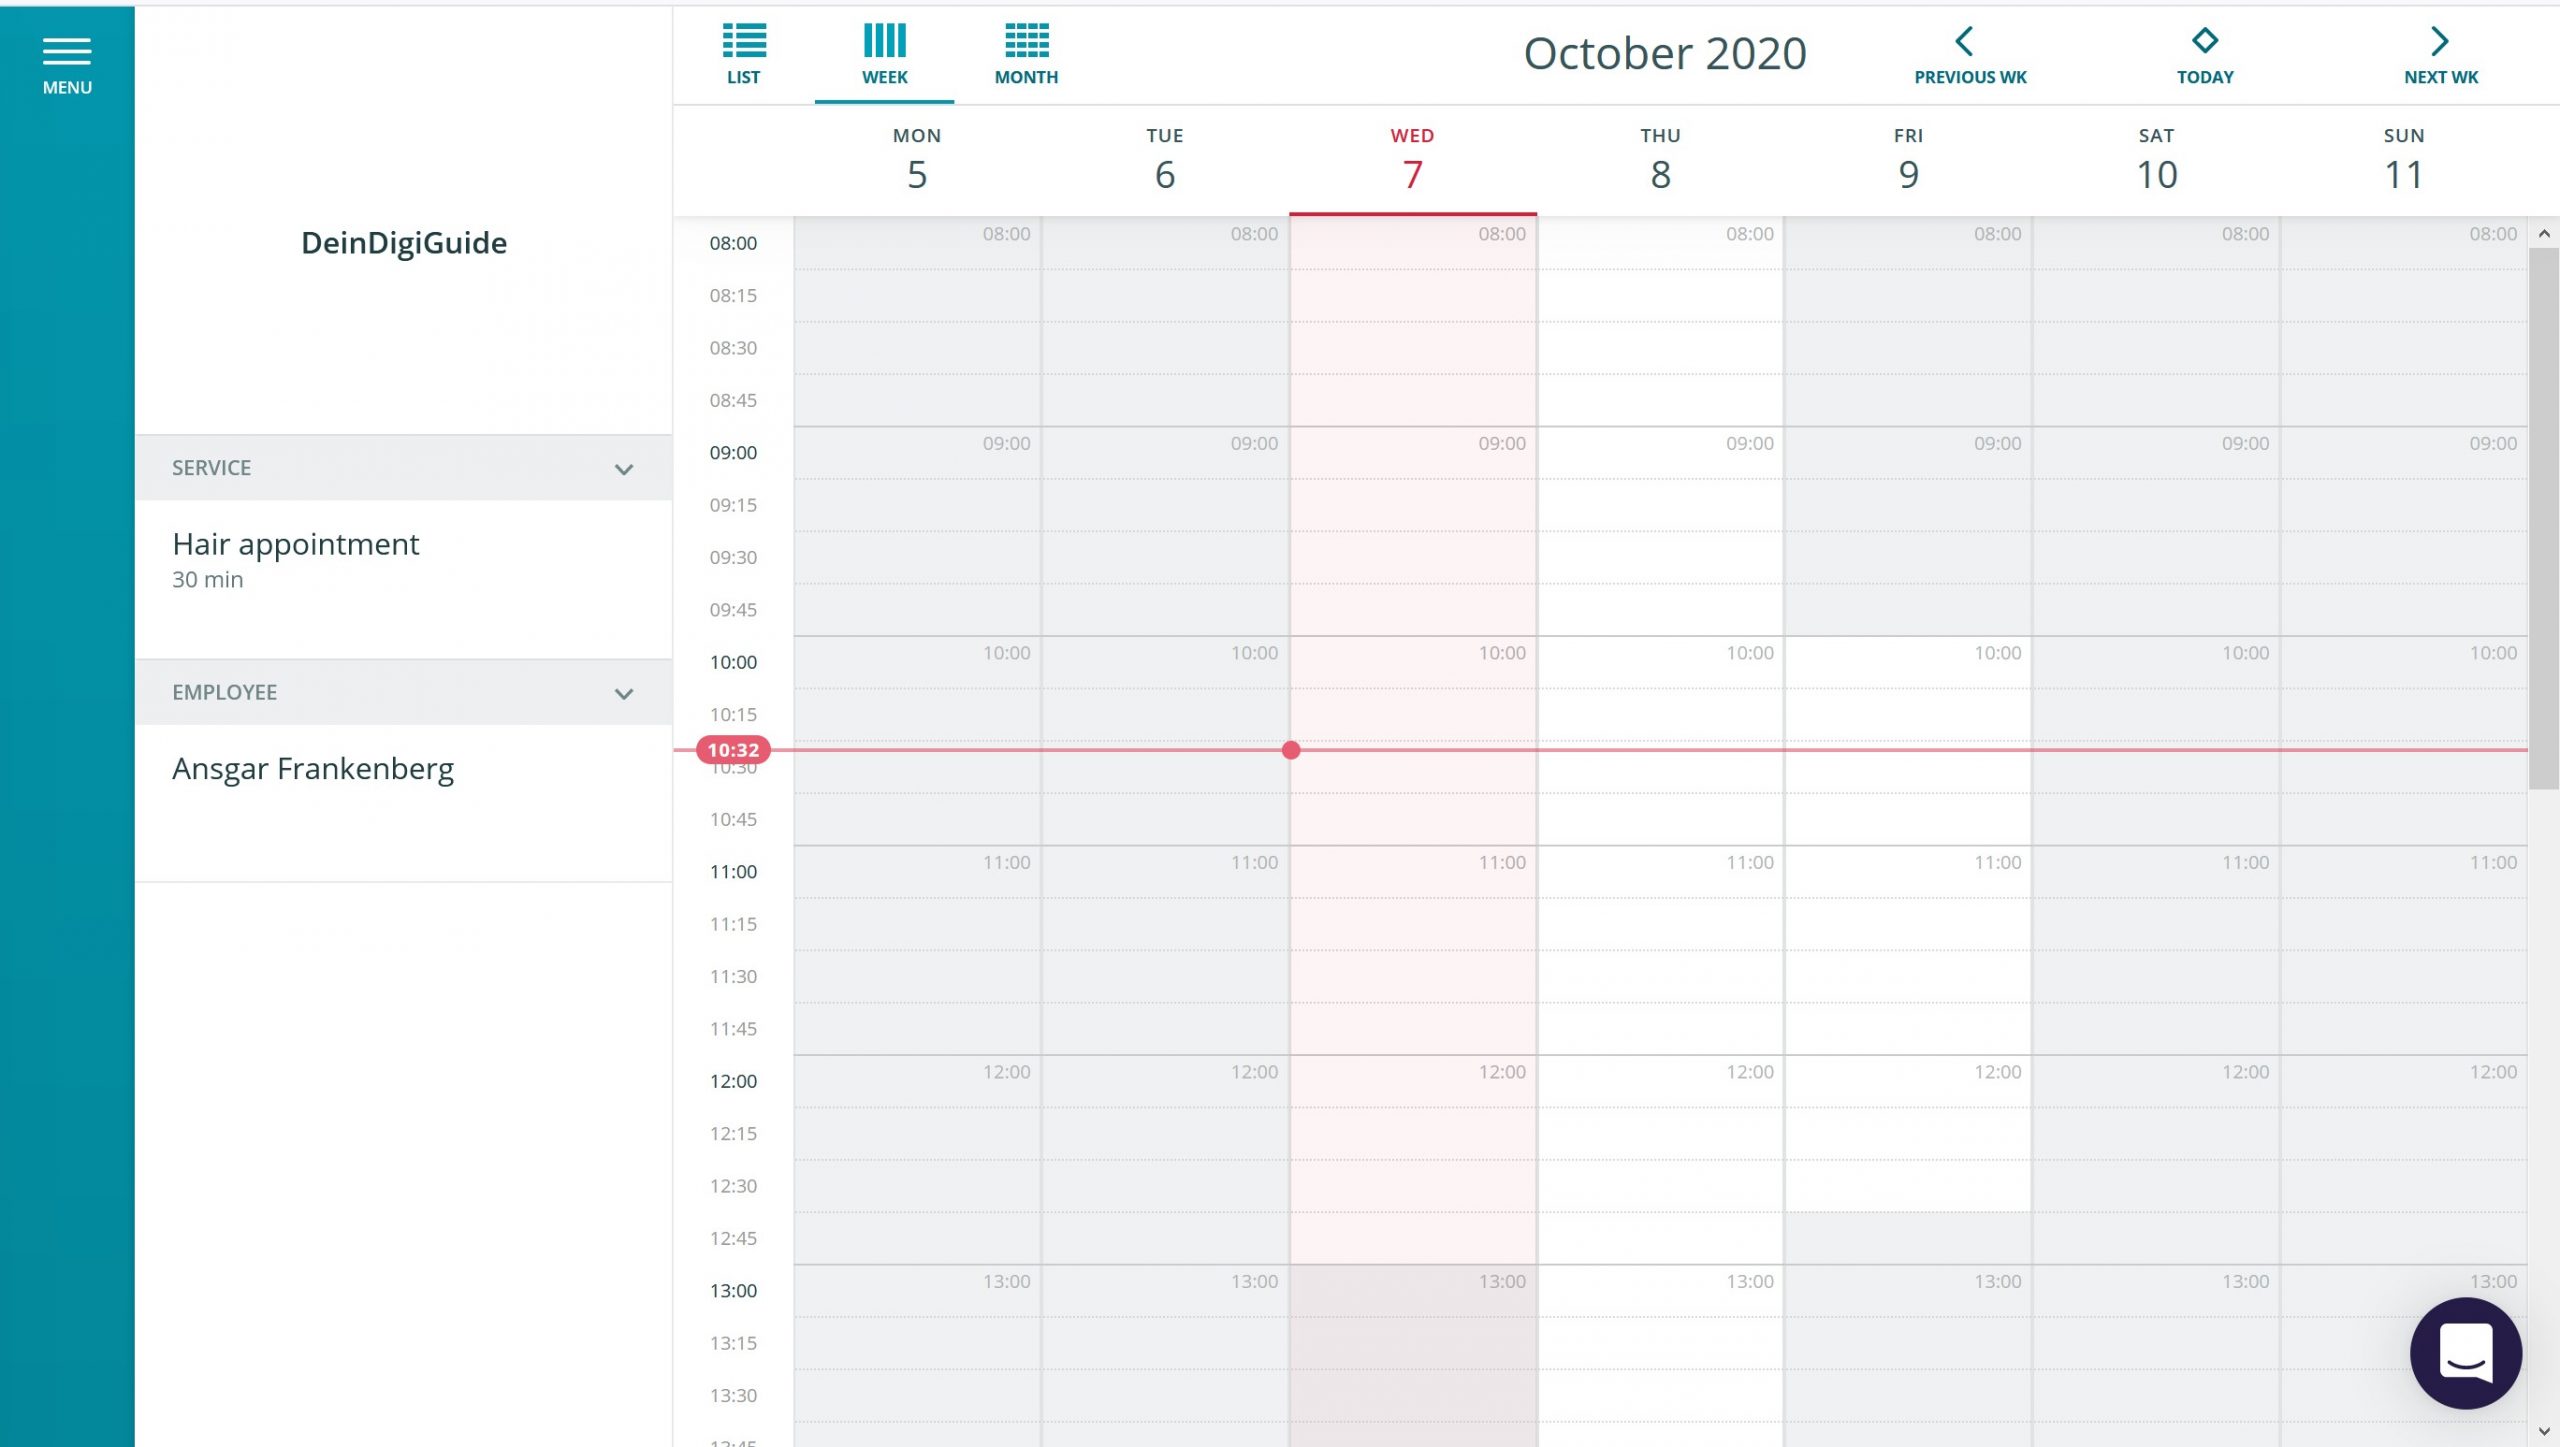
On the right side you will now see your booking calendar again. Only now you can mark times in it.
For each day fist click on the first time you are available to be booked and then on the last available time. Do this for every day you want to make available for your customers.
Step 9
Now you are all set. You can share your Vello address with your customers and let them book their appointments with you. Both you and your customer will get a confirmation and a booking reminder for each appointment.
You can also make bookings yourself for your customers in case e.g. someone wants to book via phone or in person. Therefore head to “Menu” and “Calendar“, click on the time that should be booked and fill the details.
