Simple editing with
Divi Theme on WordPress
How to make small changes on websites built with WordPress and the Divi Theme
WordPress is one of the most popular platforms for building websites. And the Divi Theme by Elegant Themes is one of the most versatile and widely used themes. Divi comes with its own visual builder. That means you do not need any coding skills to build
Step 1
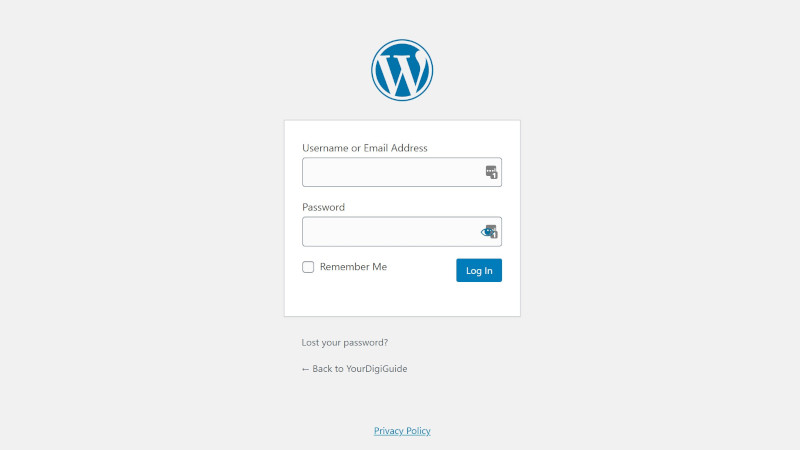
Make sure you are logged into your website as an administrator. If you are not, then navigate to the WordPress login. Usually, you will find that by tying /wp-admin behind your URL (e.g. yourdomain.com/wp-admin).
You can then type in your credentials.
Step 2
For this guide you can completely ignore the WordPress Dashboard. Just navigate to the page on your website that you want to make a change to.
As an administrator you will see a black bar on the top of your window. Once you are on the page you want to modify, click “Enable Visual Builder”.

Step 3
Once the Virtual Builder is activated you can make changes directly to the text.
Just click into the text you want to change and type in what you want there to be seen.
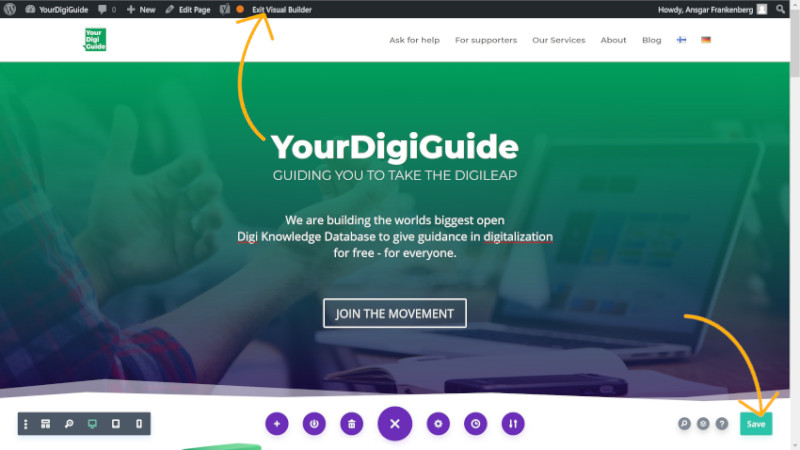
Note: You can see that the editor is activated if the text on the black bar says “Exit Visual Builder”.

Step 4
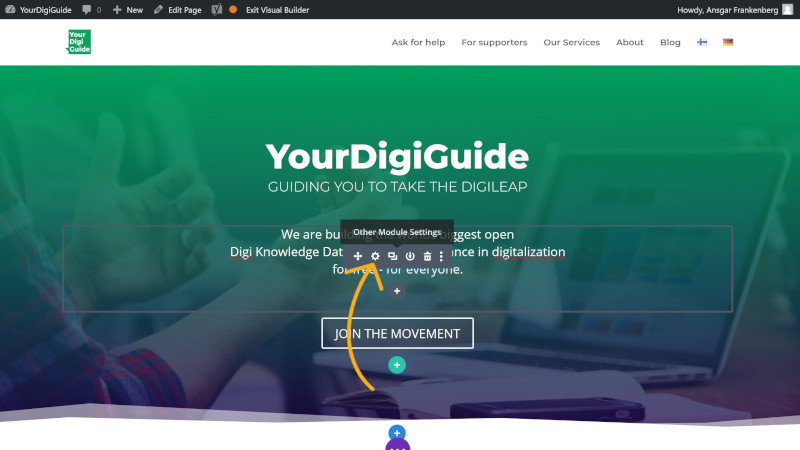
If you want to make changes that require more than the very basic text editing settings and rather want to edit in a proper text editor, then hover your mouse cursor over the text element. A grey bar will show. Click the cogs.
Step 5
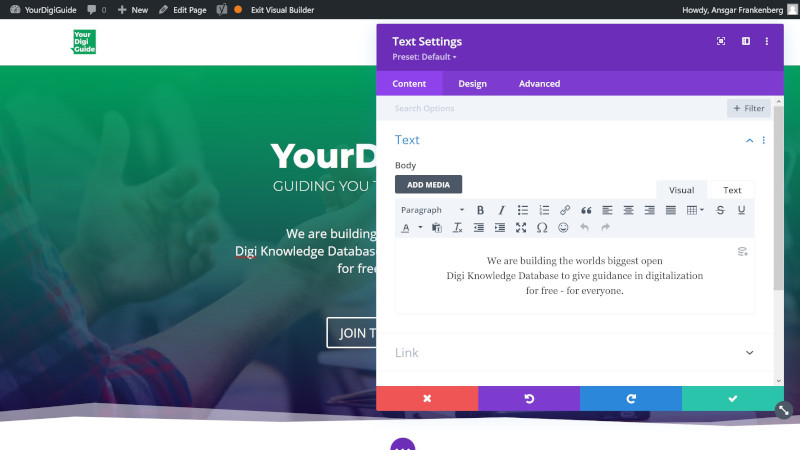
A new pop-up window opens that provides a full text editor with many functions.
You are now in the settings for this Divi element. If you like, you can also make other more advanced changes now. But we will explain that more in a different tutorial.
Once you are done with editing here, click on the green check icon in the bottom right.
Step 6
Once you are done with your changes, you should save them. Therefore open the main menu of the Visual Builder by clicking the little purple icon with three dots in the center bottom of the screen.
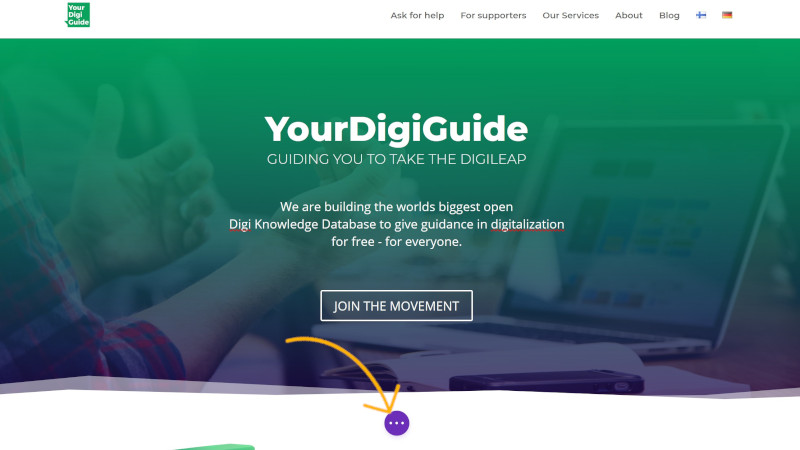
Step 7
Now more options appear. Click the green Save button on the bottom right of the screen. Now your changes will be saved and are visible on the website for any visitor.
You can now leave the Virtual Builder by clicking “Exit Virtual Builder” on the black admin bar on the top.
